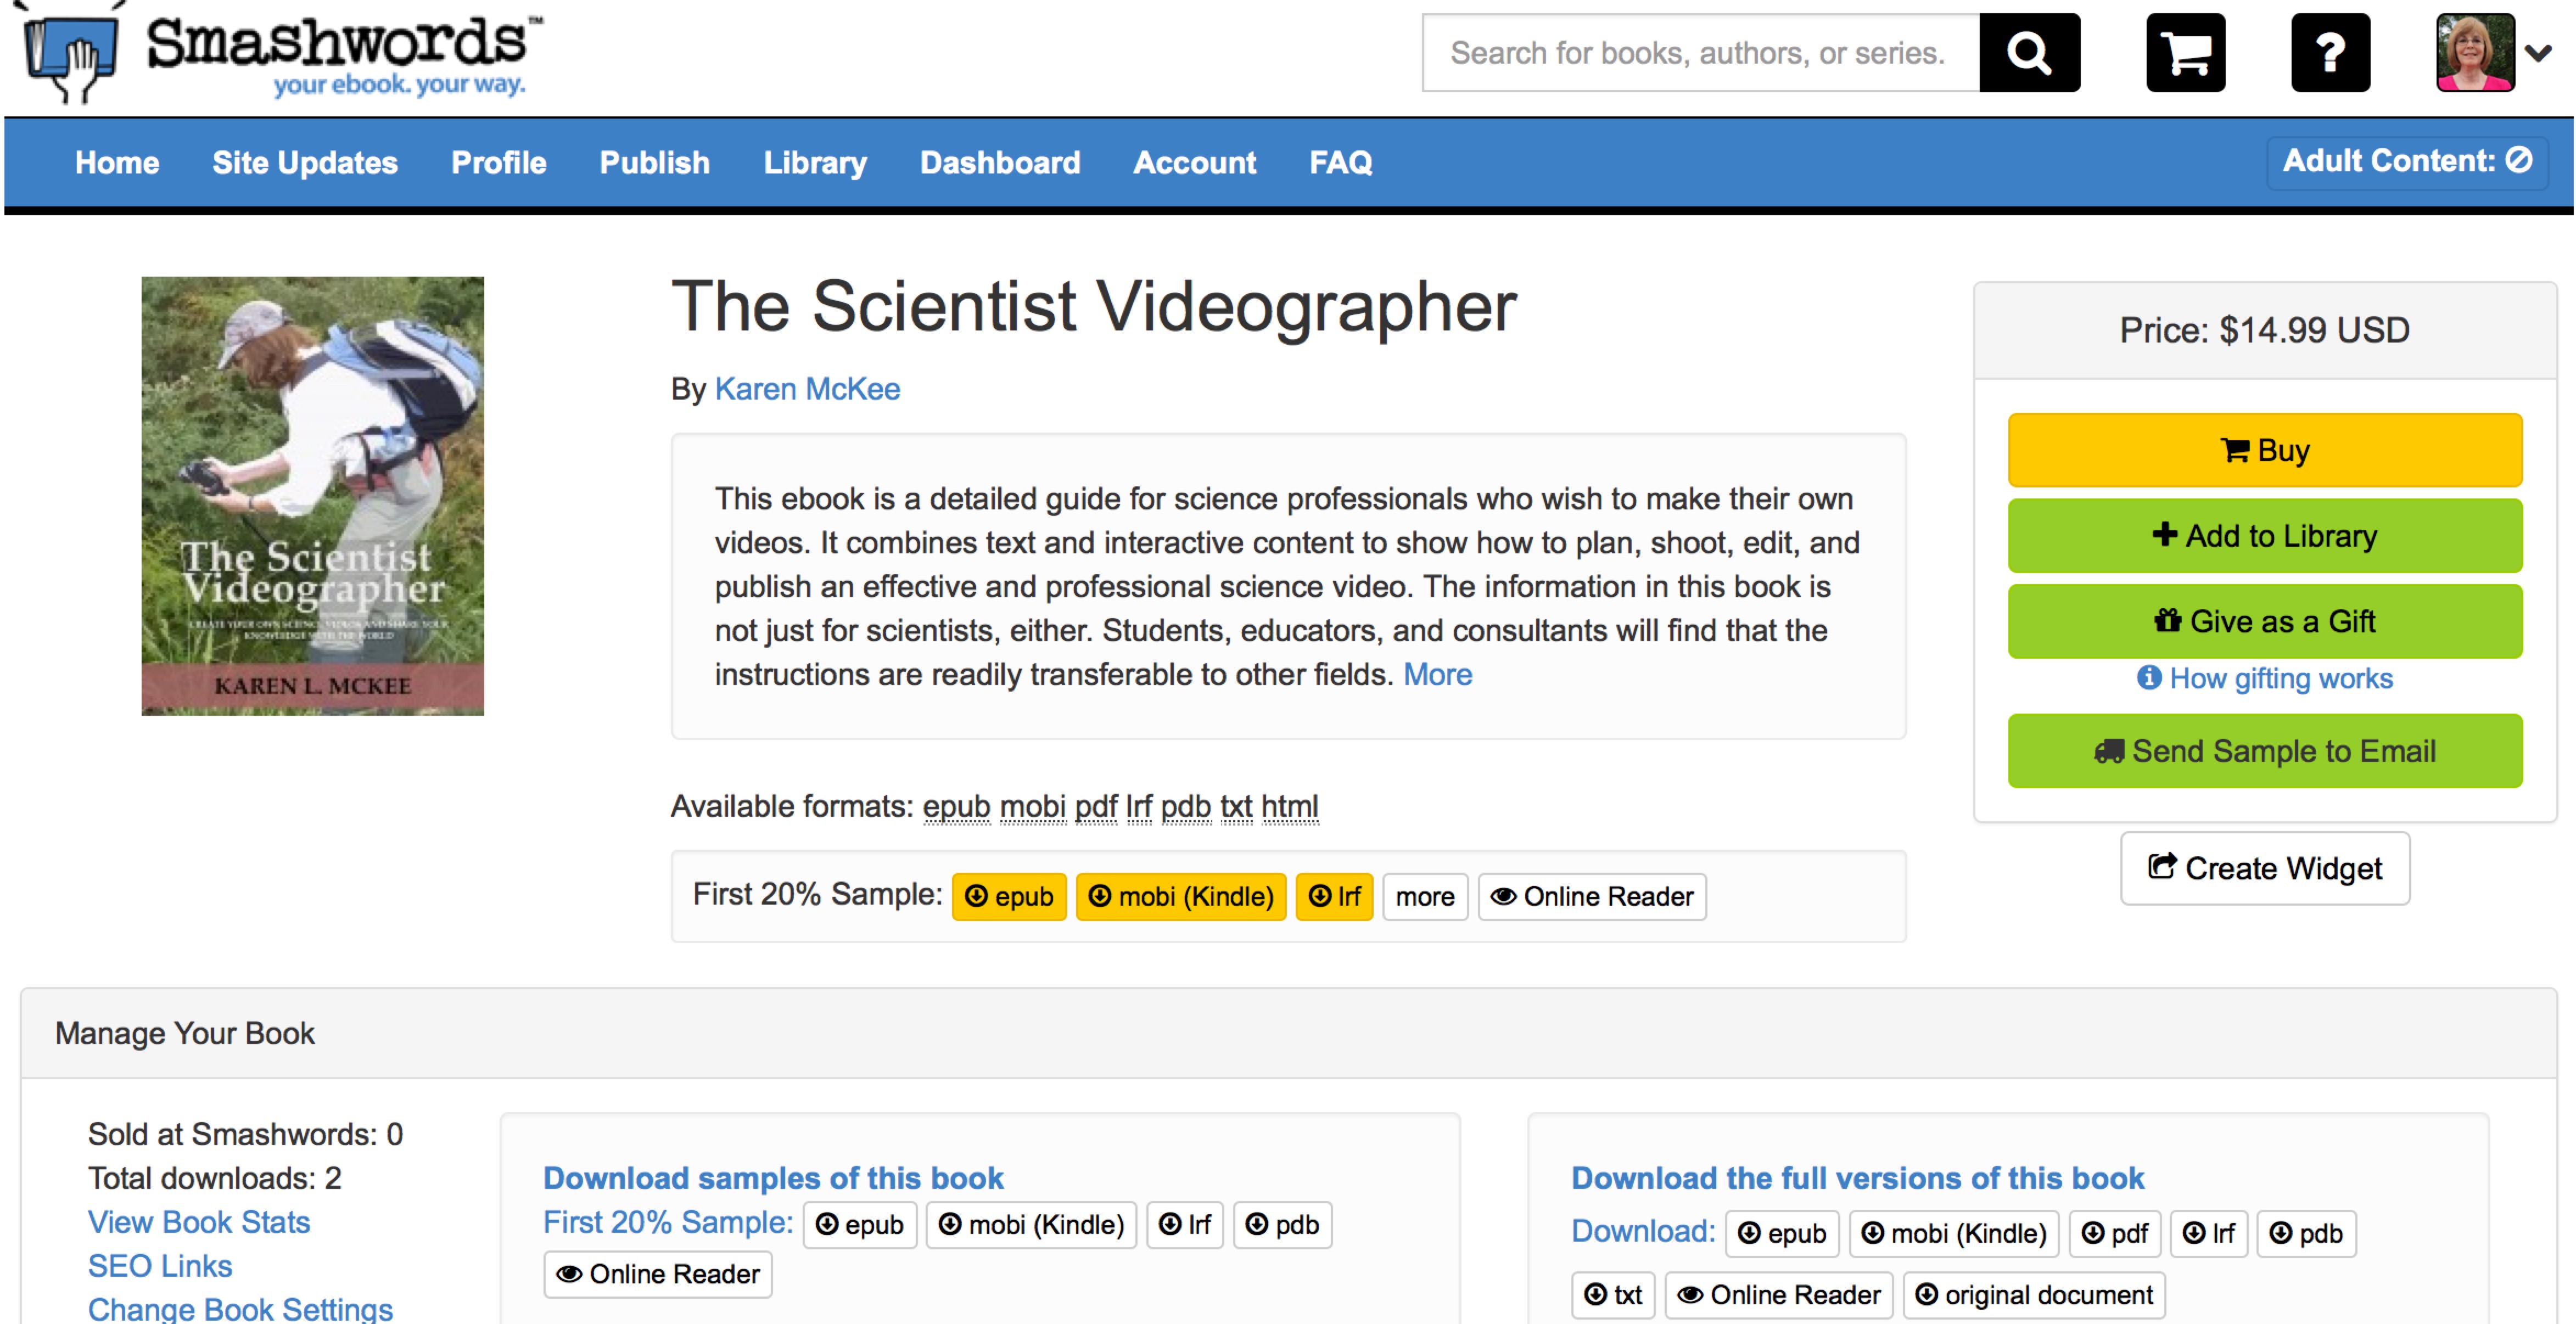
In addition to Apple’s iBooks and Amazon’s Kindle, I’ve just published a copy of The Scientist Videographer at Smashwords. At the latter, you have the option to download the book as an ePub, pdf, Mobi, or txt file or to read it online.
For a limited time, I’m offering copies of the book at Smashwords free to anyone who agrees to review the book at any of the above distributors. All you have to do is send me a note that you agree (thescientistvideographer@gmail.com), and I will give you a promotional code to use when you check out. Already have a copy of my book? Consider writing a review and use the promotional code to give the book as a gift to a friend or colleague. This offer ends April 21, 2016.
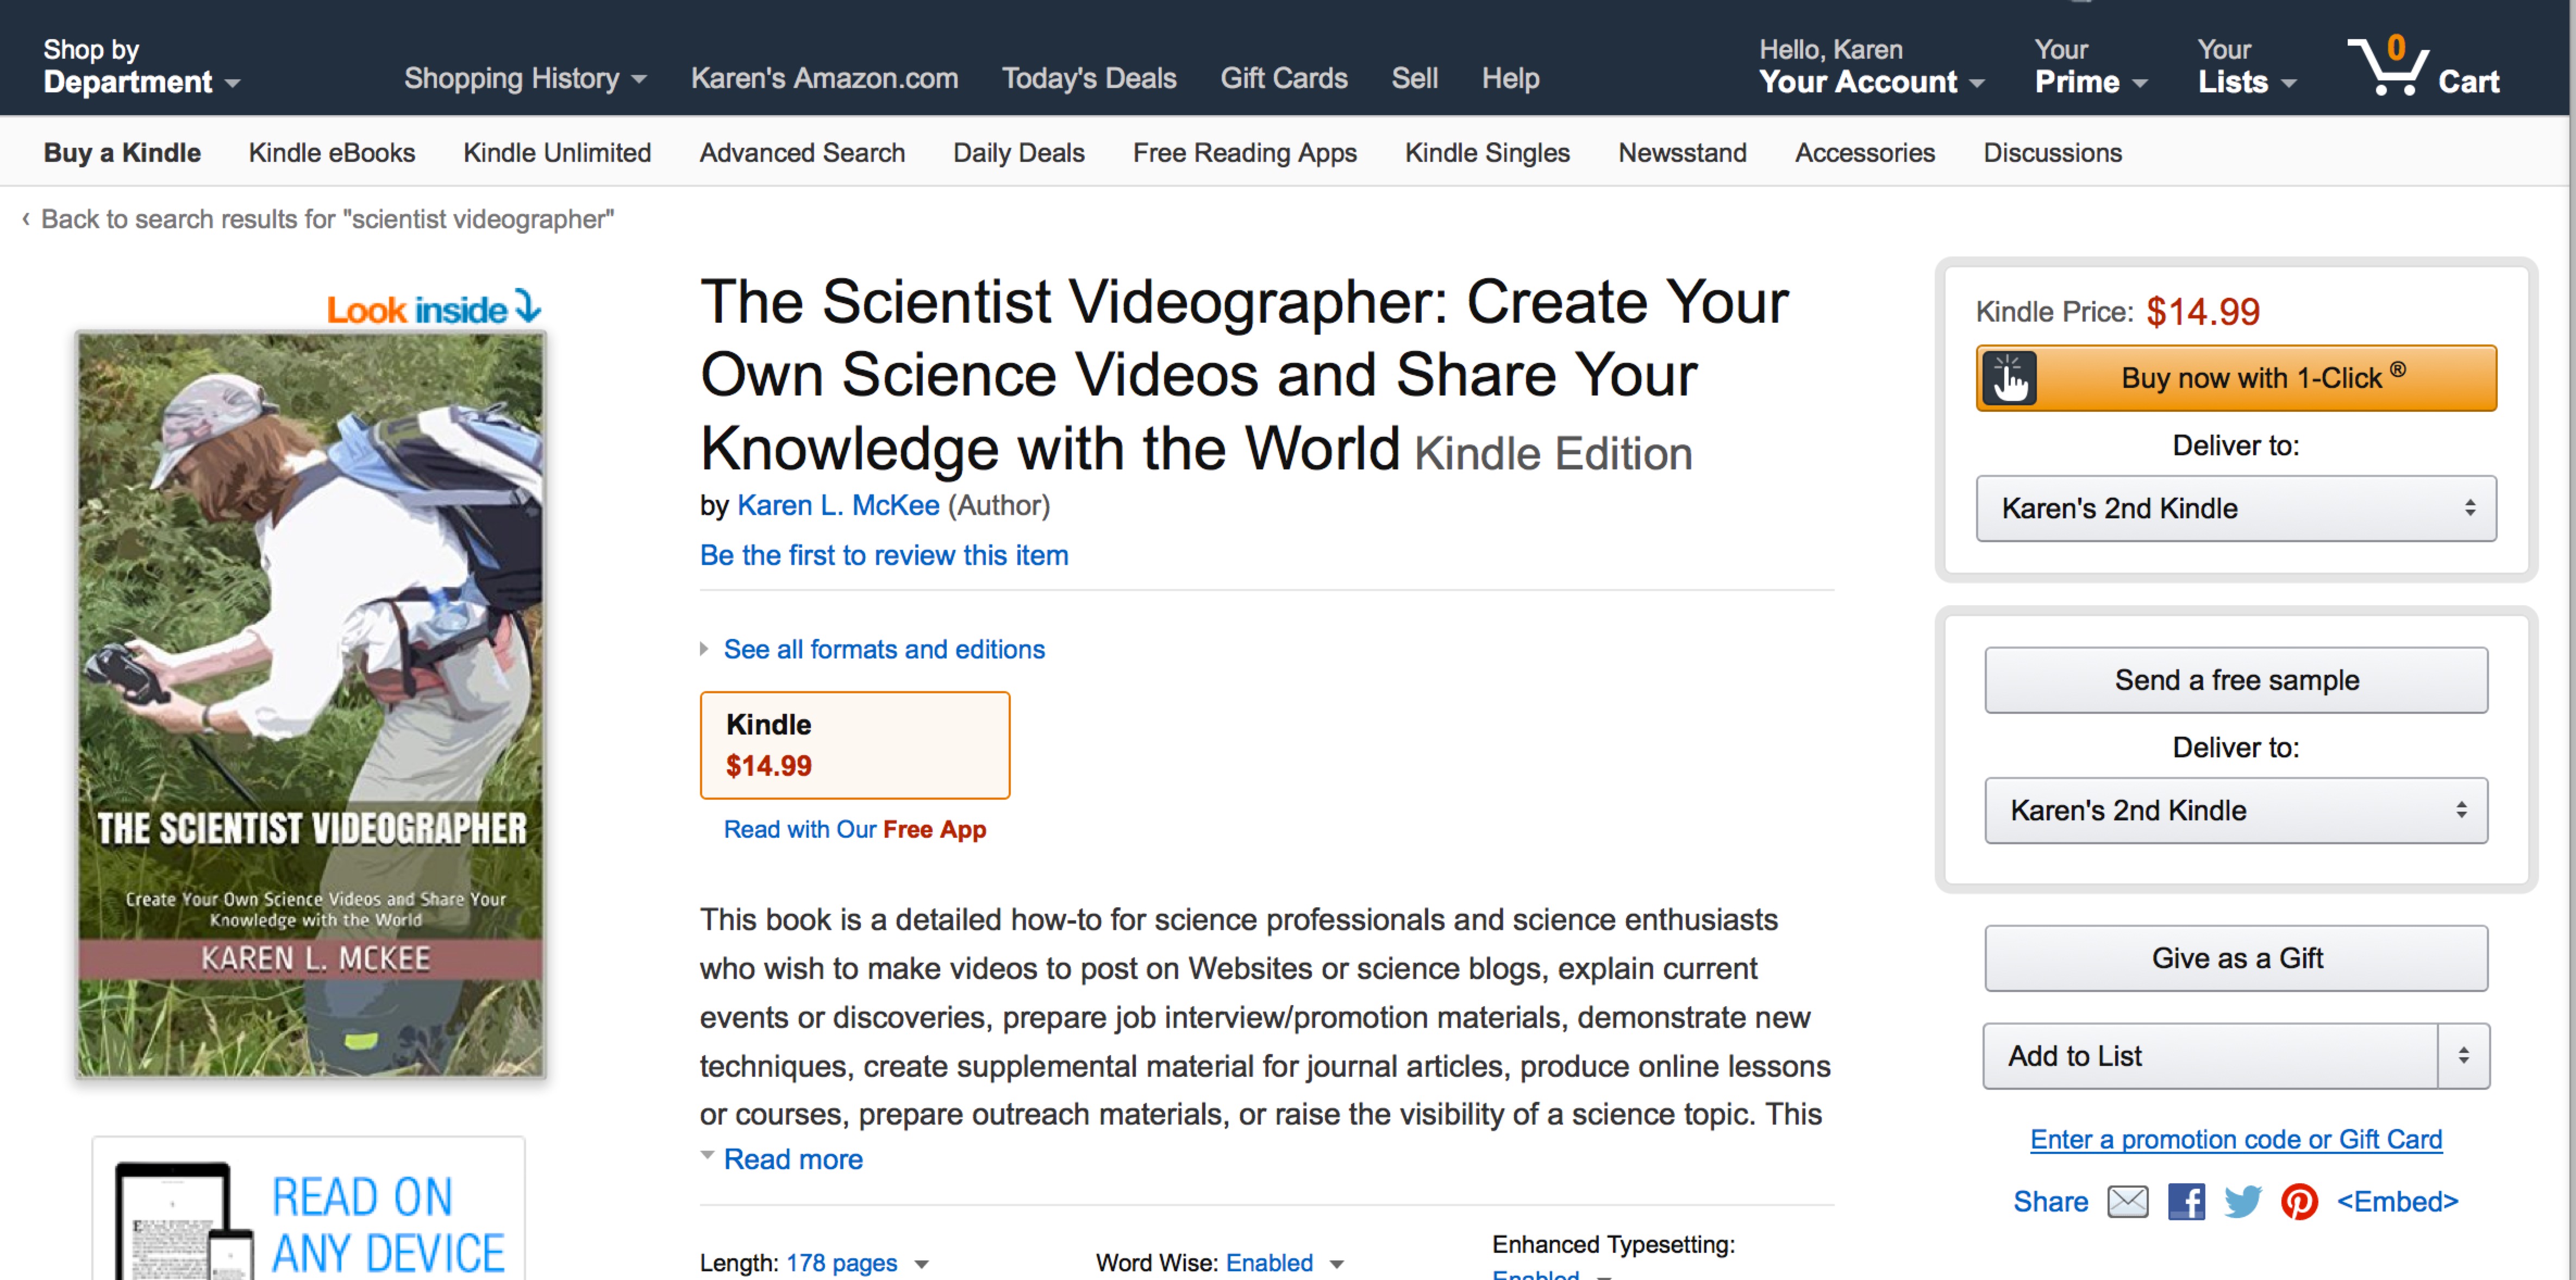
I’ve produced a text-only version of my book, The Scientist Videographer, which is now available at Amazon for Kindle. This Kindle version was created for those science professionals who do not have a device (iPad, iPhone, Mac) to read the iBooks version of my ebook. This new version has all the same information content as the iBooks version, but the interactive content (video, slideshows) is accessed through hyperlinks instead of being embedded in the book.
If you have a PC, you can also download the Kindle Reader app and view the book on your computer. The link to that app is on the main page for the book.
Both the iBooks and Kindle versions contain new information and updated tutorials. For example, the iMovie editing tutorials have all been updated to reflect the most recent version of that software. I’ve also added a section called, “Should I Get Permission to Film”. If you have the iBooks original version, just open it in your iBooks reader and select “update”. The updated version (Version 1.2) will automatically replace the original version (Version 1.0).
Have you watched a movie or a video in which two different scenes were played side-by-side on the same screen and wondered, “How’d they do that?” Well, it’s actually easier than you might think, especially if you use movie-editing software for non-professionals such as iMovie.
Split screen is a filmmaking technique that first was used in the movies to allow an actor to appear twice on screen….perhaps playing twins. Before digital technology, split screen was somewhat challenging to accomplish—even for professional filmmakers. But today it’s fairly straightforward with movie-editing software.
In the following video tutorial, I’ll show you step-by-step how to create a split-screen effect using iMovie (Version 10.1.1). There are limitations with iMovie, however. So I additionally show how to use the screen casting software, Screenflow, to edit imported video clips to create a split-screen effect. There are professional editing applications such as Premier Pro and Final Cut Pro that can also be used for this, but these programs have a much steeper learning curve. By comparison, user-friendly editing applications such as iMovie will let you do some pretty sophisticated effects in your video but don’t require advanced editing skills. Even a beginner can learn this editing technique in iMovie with just a bit of training.
If you already have iMovie or Screenflow, then this tutorial will help you learn how to do a split-screen effect. However, you do need to be familiar with the basics of editing with one or both of these applications before trying to apply the split-screen effect. You don’t have to be an expert, but you should at least know how to start a project in the application and import media. Direct link to video in case player window is not visible.
So there you have it. Really easy, right? Try using split screen in your next video and let me know how it worked out.
As GoPro Hero cameras and other POV (Point of View) cameras become more popular, users increasingly need quick and easy ways to edit the footage. For example, drone footage shot with a GoPro (or other camera) may produce long sequences composed of different views, perspectives, and subjects. If you need only one short clip from that footage for a video project or to send to someone, how can you easily and quickly extract that particular clip from a 15-minute long reel?
You could import the footage into a movie-editing program and extract the clip that way. But what if you haven’t mastered iMovie or GoPro Studio or just don’t want to fool with a movie-editing program to do some simple edits on your footage? One option is QuickTime, which is a movie player that comes bundled with Mac computers (there is also a Windows version). In addition to playing video files, QuickTime has some basic editing tools that can be used to trim, split, and combine video clips.
In the following video tutorial, I show how to use QuickTime to make basic edits on some GoPro drone footage. Although I’m focusing on GoPro to illustrate QuickTime’s editing tools, this application can be used with any video file (e.g., .mov, .mp4, .m4v, H.264) or audio file (e.g., .wav, .MP3) that QuickTime can open and play.
I’ve given many presentations at international conferences as well as seminars at foreign research institutions and departments. One thing I learned from these experiences was that non-native English speakers appreciated it when I made an effort to aid their comprehension of my language. In addition to speaking slowly, I would add a single sentence on each slide that summarized what I was describing on that slide. This approach helps because people often can read English better than they understand the spoken language–especially if the speaker has a strong accent. I know that adding extra text to slides is often discouraged by presentation gurus, because the audience’s attention is split between reading the slide text and listening to what the speaker is saying. However, the advice not to add extra text to slides falls down when your audience is struggling to understand your spoken words. You have to balance the design of your slides with your audience’s needs.
That experience in giving presentations to international audiences made me acutely aware of how captions can increase an audience’s comprehension of my material. In this blog post, I’d like to talk a bit about why and how you should add captions to your videos.
When people first start making videos, they often focus on the audiovisual aspects of the project and don’t think much (if at all) about providing closed captioning text. It’s an extra step that many video makers avoid because it takes time and because they haven’t thought about the makeup of their potential audience. People typically think about closed captioning as mainly helping viewers who are deaf or hard of hearing. However, there are probably many more people who simply can’t understand the language being spoken in the video but whose comprehension would be improved enormously by captions.
If you post your videos on a media-sharing site such as YouTube, your potential audience is the entire globe, where many people may not speak your language. For example, about half of the viewers of my videos on The Scientist Videographer YouTube channel reside in countries in which English is not the primary language. YouTube uses speech recognition technology to produce an automatic transcript for each uploaded video. It’s not perfect, but is pretty good; the few mistakes can be easily corrected. You can alternatively upload a text transcript, and YouTube will synchronize the text with the audio. Then, all a viewer needs do is click the “CC” button to turn on closed captioning.
Captions help viewers who struggle to understand your spoken language but can read it. Another reason to include captions is because YouTube provides the option to translate the captions into more than 60 languages; however, this works only if the video creator provides captions. This means that those viewers who don’t speak or read your language can also watch and understand your video. A final reason is that a text transcript contributes to Search Engine Optimization by providing information to Google and YouTube that allows more efficient indexing of your videos. By ensuring your videos are discoverable by search engines, you will reach a much larger audience.
Adding captions to your videos thus increases your global audience as well as the discoverability of your science videos.
So part of my workflow in making a video includes preparing a word-for-word transcript of everything audible in the video. Because I often develop a script prior to filming, I usually can use that text file and only have to revise it a bit to reflect minor changes in the final film. That transcript file is uploaded, along with the video, to my channel, and YouTube then automatically aligns the text with the audio. When the video plays and the viewer enables the closed captioning (cc button), the text then appears on screen and is timed to match the audio.
Creating and adding closed captions to a video is relatively easy and painless–if you know how. In the following video tutorial, I walk through the steps needed to add closed captions to a video: