
Welcome
This website is designed to encourage and inform students, teachers, scientists, and other science professionals who are interested in using video to convey information about themselves, their work, or a topic of interest. Here and on my YouTube channel (see the channel trailer below) you will find video tutorials, tips, reviews, and other information that will help you plan, shoot, edit, and publish effective and professional-looking videos.
Videography skills are increasingly important for the scientist of the future to keep pace with the rapid changes in communications technology and electronic publishing. As demand for more accessible and engaging science information increases and as competition for science jobs, research funding, and space in journals becomes more intense, those scientists with multimedia skills such as videography will be at a distinct advantage. 21st century consumers of scientific information, both technical and non-technical, will expect media-rich content, and science educators and researchers must be prepared to provide it.
Learn How to Create a Video
Watch tutorials to learn, step-by-step, how to design and make a video to demonstrate a new method, produce an online lesson, record a screen presentation, and create other communication products. Tap the image below to see a tutorial showing how to shoot and edit a video with a smartphone. For more tutorials, see this list by category (or select Tutorials in the Navigation bar).
Now Available: The Scientist Videographer eBook
This ebook is a detailed how-to for scientists, science educators, and students who wish to make their own videos. This electronic guidebook was created with an authoring platform (iBooks Author) that combines text, video, and other interactive content to facilitate learning. This ebook shows how to plan, shoot, edit, and publish an effective and professional-looking science video to demonstrate a new method, record an online lesson or lecture, create supplemental online material for a journal article, produce a virtual tour of a laboratory or experimental facility, to raise online visibility—and many other uses.
Read more about the book on this page (or select eBook in the top navigation bar).
Who Is The Scientist Videographer?
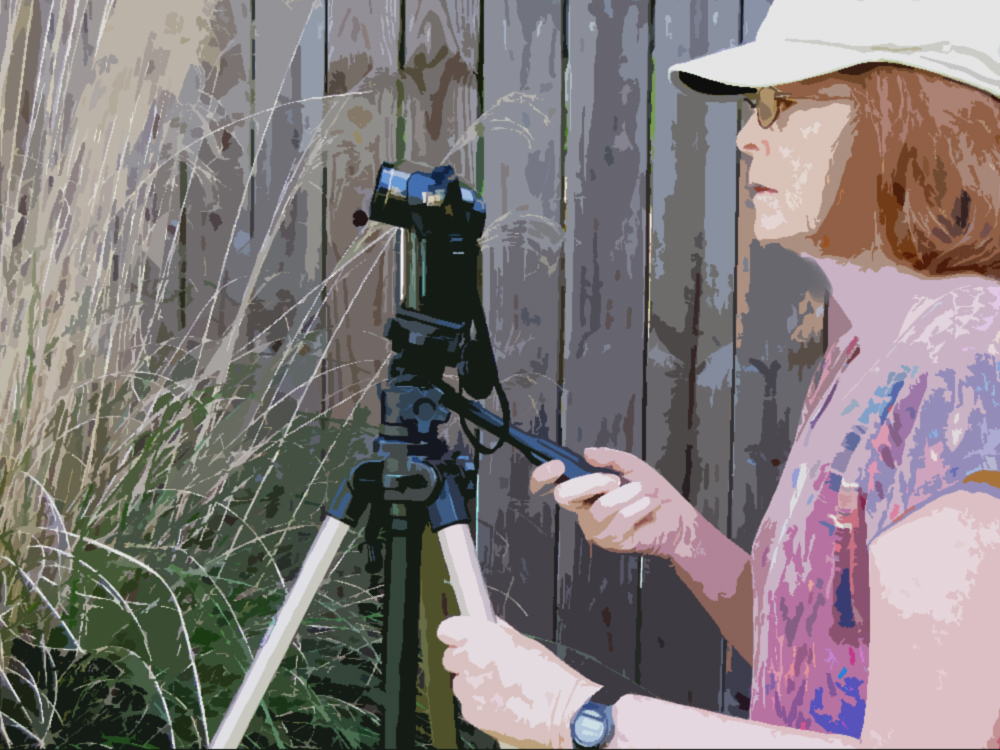 I am a research scientist who discovered the value of having videography skills in my communication toolbox—which in the future will be just as important as writing and oral presentation skills are now for a successful science career. I’ve found that video has not only expanded my abilities to explain and share my science with others, it has benefited my career in ways I never dreamed possible. To learn more about what led me to acquire videography skills and why I think it will be a critical communication skill for the scientist of the 21st century, check out my About page. See the links in Other Science Contributions for more information about me and my research.
My Science Videos

Public domain image (U.S. Geological Survey)
In addition to science videography tutorials, I have produced and published several peer-reviewed science videos as well as a number of other videos on various science and science-career topics. I provide links to those videos on My Science Videos page to show how someone with no formal training in videography, media, or science communication can produce effective videos to convey a science message. I made my first science video in 2008 and have since published more than 100 videos (including tutorials).
If I can do it, so can you.
The Scientist Videographer Blog
For more information, tips, video reviews and general musings about science communication, go to my blog. Here you will find additional material and links to video tutorials and other instructional information. See recent posts below or select Blog in the Navigation bar.
