How to Shoot Video and Avoid the Most Common Mistakes

cameraoperator_cartoon_klmckee
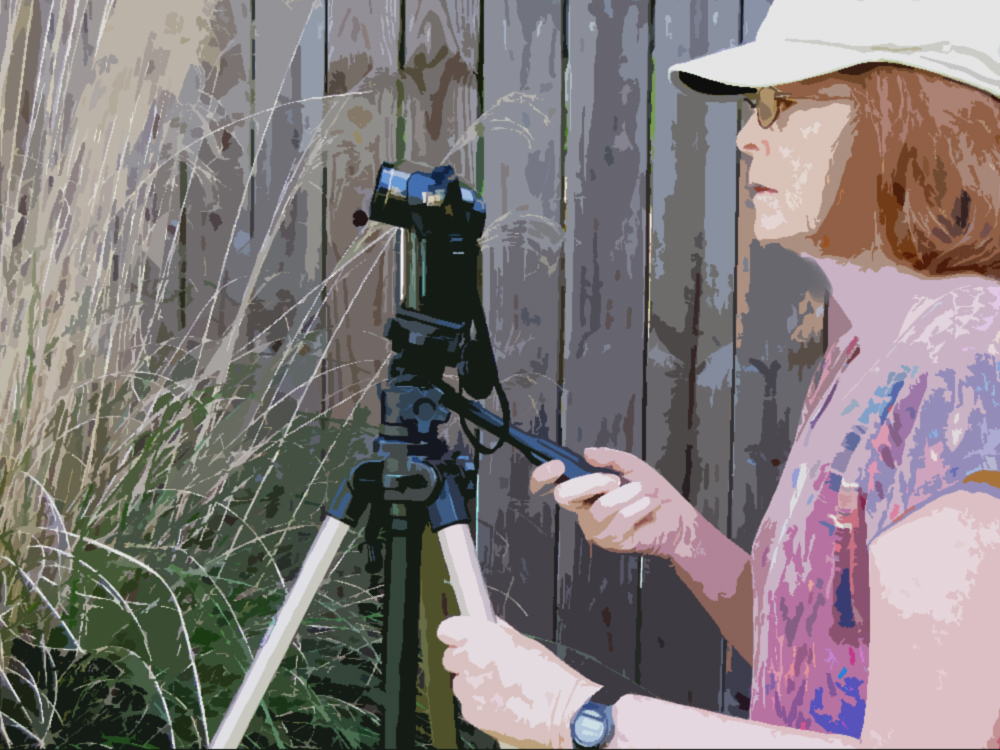
Are you thinking about making a video but are afraid of looking like an amateur? I get a lot of questions about shooting video, but most often about what equipment to buy. My response usually is that the equipment is not as important as knowing how to shoot and edit the film properly. If you make amateurish mistakes while filming or editing, it doesn’t matter if you used a $500 or a $5,000 camera. I know, because I’ve made a lot of those beginner mistakes.

When we adopt a new technique or purchase new equipment, we quickly discover that knowledge of what NOT to do is as important as learning what to do. When I worked for a government science agency, I wrote many SOPs (Standard Operating Procedures) that were supposed to be followed by members of my research group. However, I found that in addition to writing a step-by-step description of how to conduct a procedure, I also needed to include a list of actions that should be avoided. The latter were typically things that an expert would have picked up through trial and error but that often were not mentioned in the standard instruction manual. I even discovered that I needed to write an SOP on how to use an SOP (those of you in government service will appreciate the irony in that).

I’ve previously posted some of the most common mistakes that beginners make in creating their first video, but they bear repeating. Below is my list of mistakes to avoid when making a video, with emphasis on the scientist as videographer. Below the list is an embeddable slideshow with additional information about each one.

1. Ignore Your Audience.

2. Have No Plan

3. Don’t Tell a Story

4. Use Bad Camera Moves

5. Overuse Zooming/Panning

6. Backlight Your Subject

7. Fail to Compose Your Shots Properly

8. Shoot Too Wide

9. Tell But Don’t Show

10. Drag It Out

11. Feature Talking Heads

12. Don’t Worry About The Audio

13. Have Speakers Introduce Themselves

14. Go Crazy With Special Effects

15. Make It Longer Than Necessary

16. Use Copyrighted Material Without Permission

And another embeddable slideshow in Prezi:

A Shutter Remote Controller for Your iPhone Camera

I often work alone and need to stop and consult my notes when filming an on-camera speech or demonstration. In such instances, I would have to leave my position in front of the camera to start and stop video recording, which is inconvenient and time-consuming. There have been other times when I tried to film myself from an unusual position or from a distance away from the camera and wished that I had a way to operate the camera remotely.

You can use wired or wireless remote controllers that operate the shutter on a camera, but I’ve just never gotten around to purchasing one. Recently, I came across an advertisement for a shutter remote controller that can be paired via Bluetooth to any iOS device. It’s called Shutter Remote and costs about $40. Since I often use my phone to record video and take photos, I decided to give it a try with my new iPhone 5s.

The device is small and easy to operate. I found that it worked well to start and stop the camera app on my iPhone, which made filming a whole lot more efficient. Below is a video I made showing how it works and how to pair it with an iPhone.

The Shutter Remote is supposed to work with any native iOS app and also with some 3rd party apps (although I have not tried these). You can also pair it with a Mac computer to, for example, control a Keynote presentation, video playback, or music. If you use iOS devices, especially to record video, this item might be helpful.

I’ve used the shutter remote several times, but not enough to say much about durability. The only problem I’ve encountered so far was that my phone camera app once got stuck in record mode, and I could not stop it with either the remote or phone controls. I had to power my phone off to stop the recording. However, that happened only once and was easy to rectify. Otherwise, it worked as advertised.

Using a remote controller to trigger the shutter on your camera will definitely make your filming a lot easier if you work alone. In addition to filming yourself, you might also need to remotely control a camera to film wildlife; for example, a bird nest high in a tree. Once the camera is set up, you can observe from a safe distance and trigger the shutter to record whatever activity is of interest without scaring your targets away. There are many other examples.

If you’ve tried this or some other shutter remote, please share your experience.

How To Get Your Research Paper Noticed: Update

Video abstracts or other visual media can help publicize a scientific article. After creating a mangrove_newphytologist_prezi“visual abstract” for a recent paper on the Prezi platform, we sent the URL to the journal with the suggestion that they might like to link to it. Turns out, they were very interested and within days had featured it on their website (see image at right). The journal has also indicated that they will promote the visual abstract and paper through their social media outlets. This is great news, as having the journal highlight our paper raises its visibility.

The take-home message here is that journals are looking for rich content, and those authors who provide it are rewarded with increased attention.

Even if a journal does not feature video/visual abstracts, authors can still post them online, as I did on the Prezi website (and made the presentation publicly accessible). I was surprised to see that our visual abstract on the Prezi website had over 100 views in just four days (before the journal linked to it).

I also created a video of the visual abstract by recording my computer screen while playing the Prezi slideshow. I uploaded the video to YouTube (see below), which should help broaden its visibility and also provides an alternative to the Prezi slideshow (which does not play well on some viewing platforms).

Use Time Lapse To Reveal Unseen Biological Phenomena

I’ve written previously about how useful time-lapse video can be in showing biological or physical phenomena that cannot be readily observed in real time. Most people are fascinated by time-lapse movies—a reaction the scientist videographer can use to advantage. I came across an article in the BBC News Magazine about “Underwater time-lapse shows secret life of a coral reef“.

You can see the video that accompanies the BBC article here. It includes a lot of amazing time-lapse footage of coral reefs. You can also get an idea of how the scientist (Dr. Pim Bongaerts of the University of Queensland) captured some of the footage in aquaria or in the field.

If you are interested in using time-lapse photography in your research or in a science video, check out my tutorials explaining how to shoot time lapse below:

How to create a time-lapse video with a smartphone

How to make a time-lapse video from still images

How To Get Your Research Paper Noticed

unknownscientist_tomb_klmckeeLet’s face it. Most of us toil away in laboratories or in the field, and our efforts are not widely known or appreciated—even though we may be working on interesting topics or making solid contributions to scientific knowledge. Many of our scientific publications are read by just a handful of specialists and students in our fields (if we are lucky). One reason is that most papers are not highly visible—unless it is research that appears in journals such as Science or Nature and/or the media takes note. For most researchers, such attention rarely happens. Their work and papers remain mostly unnoticed—beyond a small circle of peers.

So if you don’t get your research published in Science or Nature, how do you make it more widely known?

Create Visuals That Point To Your Paper

As I’ve tried to emphasize in numerous posts on this blog, creating audio-visual communication products will help get your work noticed—by search engines and by people. Images, graphics, and video will put you on the first page of a Google search. People (even scientists) are more likely to click on an image or video compared to a text link. If you post multiple visuals online and each contains a hyperlink to the technical paper, you’ve created multiple pathways leading to your paper. The more people who become aware of your work, the greater the impact (and possibly more citations). Such science communications not only serve to advertise papers, they can: (1) attract top students/post-docs, (2) attract potential research collaborators, (3) be used to meet the broader impacts criterion in grant proposals to NSF or NIH, and (4) inform end-users such as resource managers or health-care workers, to name a few uses. For junior scientists just starting out, getting your work noticed early and more widely can greatly benefit your career.

Interactives and Infographics

I’ve emphasized video in this blog, but another option is to create an interactive presentation or infographic that summarizes your published paper. A few scientists are posting slide shows (for example, on Slideshare or Figshare), which explain and illustrate their research findings. Although such slide shows can be created with PowerPoint, there are newer applications, such as Prezi, that support creation of non-linear, multi-dimensional presentations, which resemble mind maps more than slide presentations.

If you’ve not heard of Prezi, it is a free, online tool (paid pro version provides added flexibility). Instead of the usual linear presentation format, Prezi uses a multi-dimensional canvas that allows you to zoom in and out as well as pan around whatever is displayed. I think Prezi is particularly useful for illustrating complex science topics, especially those involving different scales and hierarchies.  You can also create effective infographics with such software (see this amazing interactive featured on Astronomy Picture of the Day).

Example of a Visual Abstract Created With Prezi

I’ve been exploring how Prezi might be used to create an interactive, visual abstract of a journal article. To illustrate this idea, I created a visual abstract of a recent paper with Prezi (see player below).

For best viewing, select the full-screen option (lower right of window).

My visual abstract targets technical and semi-technical audiences and is fairly complicated with a lot of information and visuals. But it gives an idea of what is possible with this tool. Once a presentation is created, the embed code can be used to install the presentation on a website as I’ve done above. Instead of just listing publications, a scientist could display visual interactives where visitors could better see what their research is all about.

So if you are looking for ways to get your research noticed, you might try creating a visual abstract that you share online. For more about the h-index and citations, see this post.