Make your own science videos and share your knowledge with the world
Category Archives: Science Video Tips
I provide various tips for improving your science videos, including information about lighting, sound, interviewing talent, shooting video, editing video, and sources of public domain images for use in your science video projects.
In a previous post, I talked about how the public’s view of science and scientists is skewed toward the laboratory as a primary location where science takes place. I pointed out that for many scientists, their laboratory is a rainforest in Central America, a desert in the US Southwest, the bottom of the Pacific ocean, or a cave in Canada. Yet the layperson’s image is most often of a white-coated scientist working in a sterile laboratory (google “draw a scientist” and see what images you find).
To raise awareness by the public (especially prospective science students), more field scientists need to film where they do their research and post them on media-sharing sites. The video embedded below (Spelunking in Search of Antibiotics) is a good example. It is only two minutes long and required only a brief break during their field trip to film. Yet the message it sends is that scientists work in fascinating places and are often intrepid explorers seeking answers in the most remote corners of our planet.
Such a video is incredibly easy to film and edit with a smartphone. The following tutorial provides a few, basic tips (using an iPhone, but the tips are relevant for all smartphones):
As I’ve talked about before, conducting an interview is one of the biggest challenges the scientist videographer may ever face—especially at noisy venues such as a scientific conference. In a previous post, I described how I had conducted and filmed a series of interviews at a scientific meeting and pointed out what I had learned from the experience.
Now, I’ve created a short video that covers ten tips for conducting interviews while filming a video:
In the process of learning how to make a video, we all make rookie mistakes. That is, unless we are warned about them. I made a lot of mistakes when I first began making science videos. However, I avoided some of the most common filming errors by reading about them or watching tutorials. I recently gave a lecture to a university class about how to make a video with a smartphone. This particular science course requires the students to make a video about one of the topics covered in the course. One of the topics I always cover in these lectures is common filming mistakes.
When I finished the lecture and was walking back to my car, the thought occurred to me that I could use my lecture presentation (made with Prezi) to make a helpful video about avoiding common filming mistakes. Later, I recorded that part of my lecture about filming mistakes with the screencapture software, Screenflow, along with my voiceover. All I had to do was play my presentation fullscreen on my computer while Screenflow recorded the screen and my voice. I then edited the footage in Screenflow to trim out unwanted sections and to insert The Scientist Videographer intro/outro at the beginning and end of the video. It took about fifteen minutes. My point is that recording your lectures, seminars, or conference presentations is a really easy way to make a video.
If you have a presentation made in PowerPoint, Prezi, Keynote, or some other application, you should be able to use that as the basis for a video about your science topic. Some journals are even encouraging authors to use this approach to create a video abstract that will accompany their scientific article. So, it may be worthwhile to know how to make a video this way.
Recently, I saw this bit of advice on a forum in response to a question about using photos found on the Internet: “…if your purpose is educational, you are free to use the image…“. Well, that advice is incorrect. If you use an image found on a website without permission, you can be sued for copyright infringement. The fact that you are using that image for an educational purpose has no bearing on whether you can take it without permission. You wouldn’t walk into a store and take a framed photograph off the wall and walk out with it, using the excuse that you plan to display it in a classroom, would you? Neither should you grab an image from the Internet without permission of the photographer.
So where do you find images that are free to use? I’ve previously described where to find images in the public domain (for example, U.S. government websites). Images in the public domain can be freely used without permission. In addition to images in the public domain, there are a number of websites that offer free images, often with few restrictions (such as commercial use). Below, I’ve listed a few sites that contain large libraries of images that you can download and use as you please.
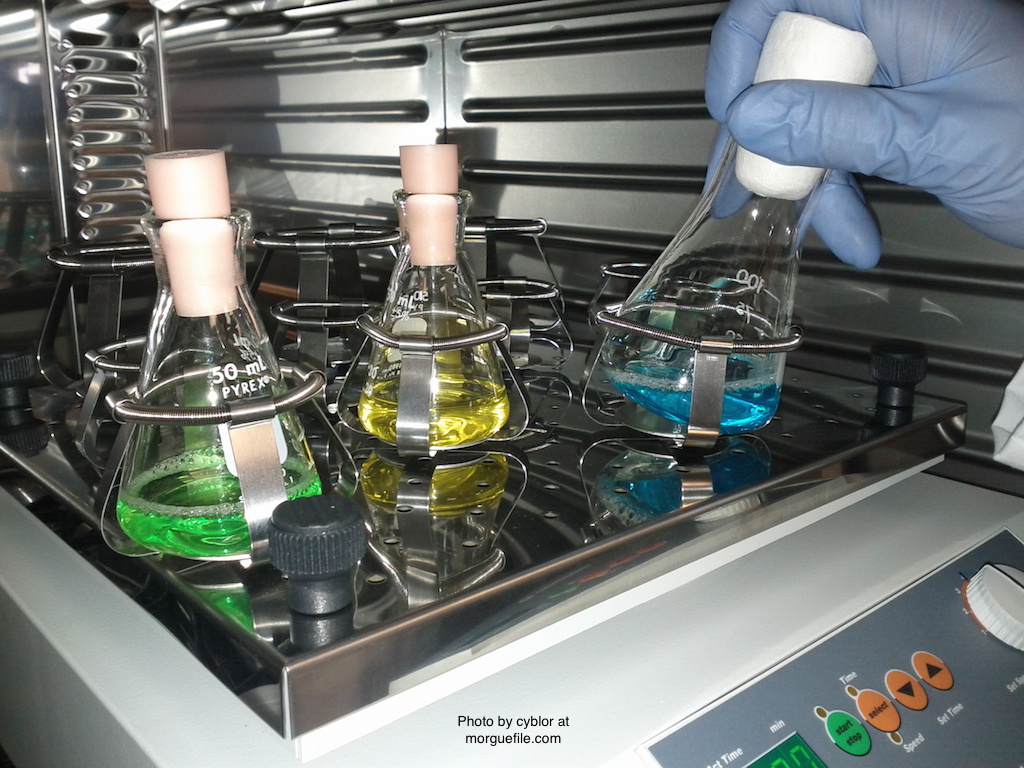
Morguefile is a site where photographers can upload their images for others to reuse. There are images of people, places, and things. For example, here is an image of a research laboratory. You can modify the image, use it for commercial purposes, and display it along with other content such as text. You may not distribute the unaltered image or claim ownership of it. If you don’t alter the image in some way (e.g. by cropping, reducing resolution), then you must attribute the photographer. The quality of images on this site varies, but you can search for one that suits your purpose using a keyword.
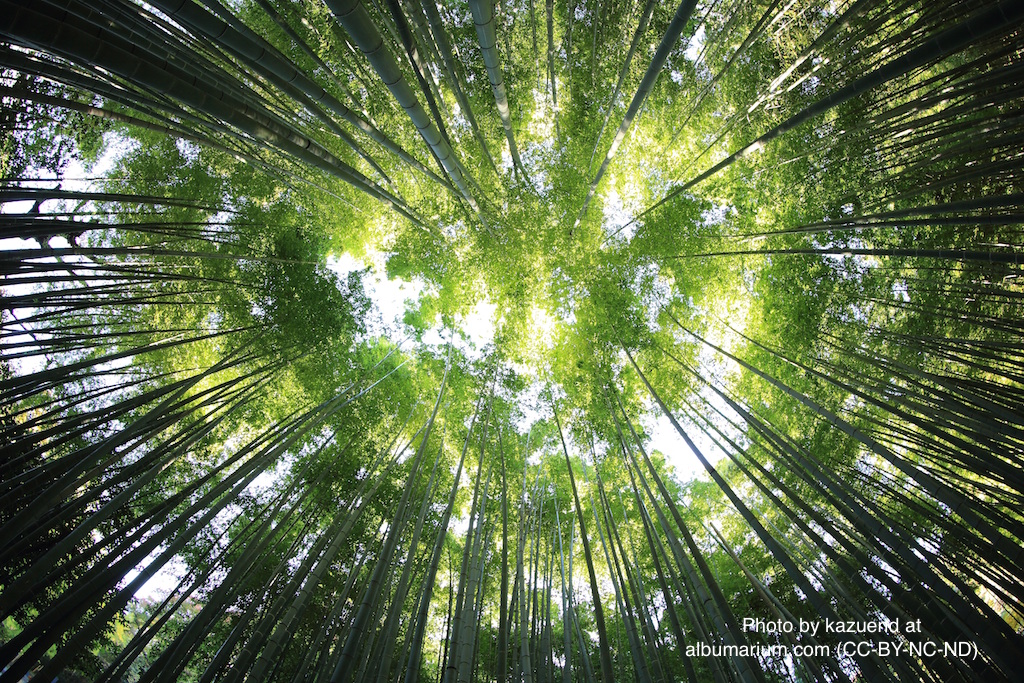
Unsplash offers high-resolution images from over 40,000 photographers. All photos published here are licensed under Creative Commons Zero, which means a user can copy, modify, distribute, and use the photos for free, including commercial purposes without asking permission from or providing attribution to the photographer or Unsplash. This is a great site to find high quality photos of landscapes, cityscapes, people, animals, and plants. Searches are easy using keywords; there are also collections of photos emphasizing a particular topic (ocean, forest). For example, here is a photo from a collection called “beautiful forests”. You can use these photos for commercial purposes such as for book covers, on T-shirts, or in a video. Although reselling a photo from Unsplash is possible, you are encouraged to first modify it creatively.
Pexels offers a library of images for personal or commercial use. This site has several thousand photos, all under a Creative Commons Zero license. You can browse topics such as sky, sport, night, people, sunset, or animals….or you can enter a keyword search. The images are offered in different sizes/resolutions, such as this one of a peacock. A companion site offers free videos, also under the Creative Commons Zero license (videos.pexels.com). The videos I examined were all full HD (1920 x 1080) and included some time lapse clips. There were also some 4k drone videos (see this example of drone footage of a beach area). You can copy, modify, and distribute the photos or videos without asking permission or giving attribution (in fact, the photographers are not identified on this site).
Death to the Stock Photo is a collection that is not entirely free. To access and use photos, a user must sign up and pay a monthly or yearly fee–reasonable for someone who frequently needs good quality photos. You can re-use the images but cannot re-distribute them or imply that they are yours. If you need only the occasional image, you are better off going to one of the other sites with free offerings.
Albumarium offers images, typically under a Creative Commons Attribution 2.0 license, which means you can use the photos if you acknowledge the photographer. Some photos, however, cannot be used for commercial purposes or modified. This is a good site if you are looking for photos of nature, landscapes, or people. Images are grouped by topics into albums, which can be browsed, but you can also search by keyword.
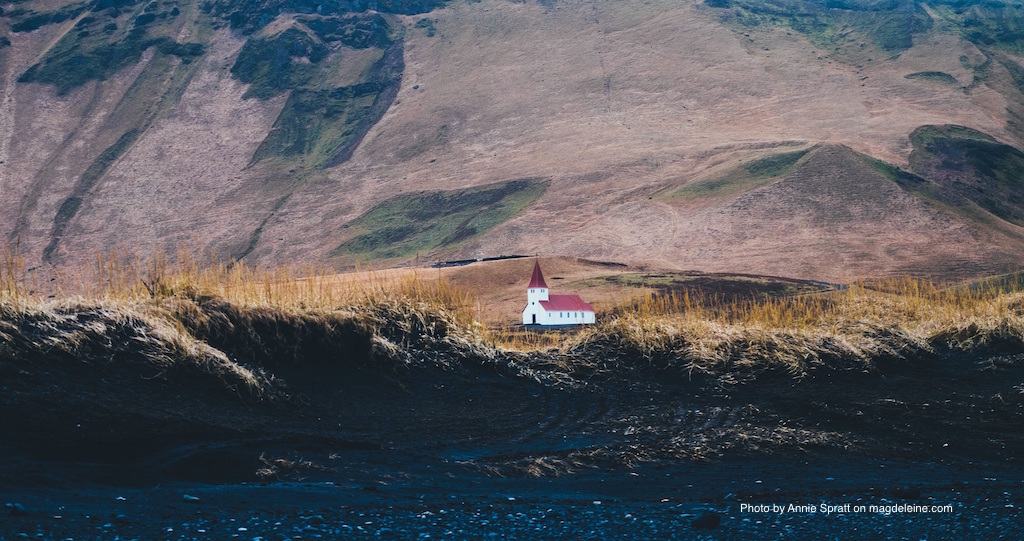
Magdeleine photos are inspiring or otherwise invoke emotion in the viewer. If you need an evocative photo to enhance your science story, this site may have it. Some photos are offered under a Creative Commons Zero license (or public domain), allowing you to use the image any way you wish and without attribution. Other photos require you to attribute the photographer.
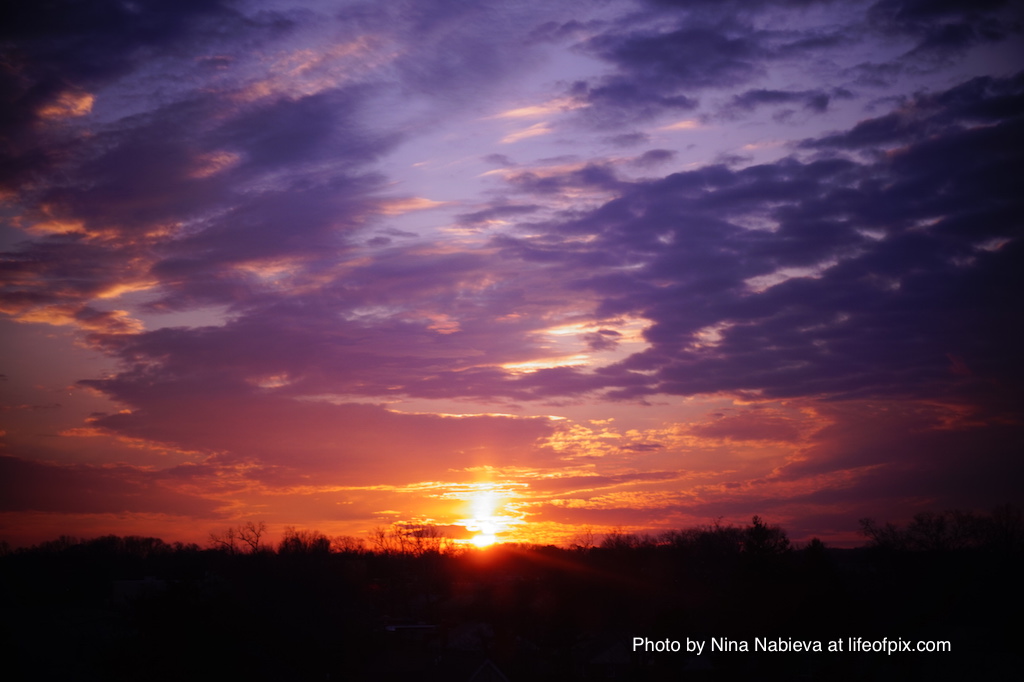
Lifeofpix offers free, high resolution photos of cities, beaches, architecture, nature, food, people, and sunsets, to name a few subjects. You can search by keyword or use filters (category, colors, and orientation). A companion site offers video clips that can be viewed and downloaded from a Vimeo account (lifeofvids.com). I could not find licensing information and so assume that photos and videos can be used with attribution.
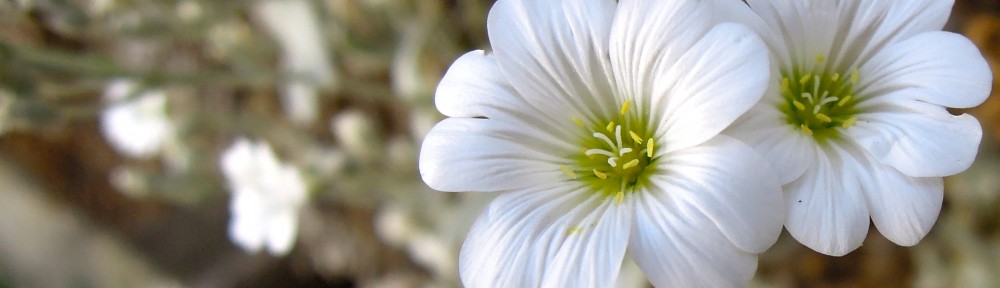
Stocksnap provides thousands of free photos under a Creative Commons Zero license. Images are arranged by categories (nature, people, cities, computers, music, fashion, car, fitness, landscape..) and are also searchable by keyword. The images I examined were of high quality and resolution. If you need images of plants or animals in nature, there are some to be found here–see example at right.
Pixabay has a large collection of high quality photos and videos that can be browsed or searched using various filters. Most seem to be under a CC0 license, which is clearly stated in the photo description. There are many images and video clips of plants and animals in nature, which makes it a useful resource for the scientist videographer. The video clips may be particularly useful if you need footage of animals. I found HD clips of frogs, caterpillars, snails, lions, crustaceans, bison, deer, fish, and many more. There was also drone footage of various types of landscapes.
Librestock scans and indexes photos from more than forty sites and makes it easy to locate the photo you need. Once you find your photo, the site then directs you to the source to download. You can save a lot of time by searching here first.
These ten sites offer many fantastic images to use in a video project or scientific presentation. It’s not an exhaustive list—there are other sites offering free media. However, the ones I’ve listed here have high quality media that are easy to download. So instead of illegally grabbing a poor resolution image from someone’s website, why not search these sites first?
Let me end by suggesting that it is good practice to attribute the photographer or videographer, even if the license doesn’t require it. You can easily add a bit of text that identifies the creator and the distributor (as I’ve done with all the images included in this post).
A middle-aged scientist in a white lab coat is speaking on film about his research on cancer. He’s sitting in a well-equiped laboratory and looks very authoritative. The camera gradually pans from a broad view of the room to focus in on the scientist. He begins by saying, “I’m really passionate about my work and want to share my findings with you in this video.” The only problem is that this cancer researcher does not look or sound passionate! Far from it. Instead, he sounds like a robot. He speaks in a monotone, does not smile or show any other facial expression, uses no hand gestures, sits stiffly and does not make eye contact with the viewer (his eyes are looking down or off camera). Things don’t get any better as he continues to explain the details of his research.
Now, I can sympathize with this guy because this is how my early attempts at making videos about my research looked and sounded. I’ve improved since then, but still find it really difficult not to come across on camera like Mr. Spock (played by Leonard Nimoy in the original Star Trek series). Spock had difficulty showing emotion due to his Vulcan ancestry.
So what’s our excuse?
I think there are three basic reasons why some scientists come across on camera as being stiff and robotic: personality, training, and fear of the camera. People who are naturally gregarious or funny come across well on camera, but someone who is introverted may seem stiff or robotic. It’s possible to go against your natural demeanor, but you will likely find it difficult. I’m a naturally reserved, quiet person and feel terribly awkward when I try to be more extroverted. Also, I have to fight the years of training and experience talking to an audience of scientists, during which I cultivated a demeanor of calm confidence and authority. My talks at conferences and in seminars have been successful because those audiences expected a serious, academic delivery. But what works for an audience of scientists can be a detriment on camera. My serious, authoritative demeanor could be misinterpreted as arrogance or just a nerdy attitude. In addition, the camera not only adds ten pounds to your apparent body weight, it drains your energy. Consequently, it’s necessary to be more personable and to raise your energy level when being filmed above that normally used with a live audience. If you are like me and have a more reserved demeanor, you will have to work much harder than your colleague who is naturally gregarious and likeable.
Also, many people—even experienced speakers—freeze up when the camera is turned on them. They get that “rabbit in the headlights” look on their faces, and their bodies seem to turn to stone. Whenever a camera was turned on, I found it difficult to gather my thoughts and speak coherently. This reaction is a bit like stage fright and can make you look like someone with “Stuck in Their Heads” syndrome. Extreme self-consciousness is the culprit here.
After watching many, many videos made by science professionals (or videos in which a scientist appears), I realized that there were quite a few people out there with the “Stuck in Their Heads” problem. I’ve wanted to make a video tutorial about how to improve on-camera delivery, but put it off because I did not think I was the best person to tackle this topic. I thought it was better to hear tips about on-camera delivery from someone who does it well. However, it finally occurred to me that people might want to hear how a scientist with this problem has faced the problem and eventually improved.
In the video below, I briefly explain what I think are the main problems someone faces when trying to speak on camera and a few ideas of how to overcome them (direct link to video).
As you saw, there are several ways to improve your on-camera delivery if you are having problems. I focused on the most common issues and how to overcome them. My take-home message to you is not to give up if your delivery is poor at first. Keep practicing and you will improve. Even though I’m not as engaging or likable or convincing as, say, Neil deGrasse Tyson, and never will be, I have improved. More importantly, I feel less self conscious and thus more comfortable speaking on camera.
One bonus to learning to speak with more energy and confidence on camera is that it can help you in other stressful, speaking situations such as a job interview seminar or a TED talk. If you have an upcoming presentation, film yourself practicing your talk and try to apply some of the tips I cover in the video. I think you’ll find it’s well worth the effort.
 gh quality photos of landscapes, cityscapes, people, animals, and plants. Searches are easy using keywords; there are also collections of photos emphasizing a particular topic (ocean, forest). For example, here is a photo from a collection called “beautiful forests”. You can use these photos for commercial purposes such as for book covers, on T-shirts, or in a video. Although reselling a photo from Unsplash is possible, you are encouraged to first modify it creatively.
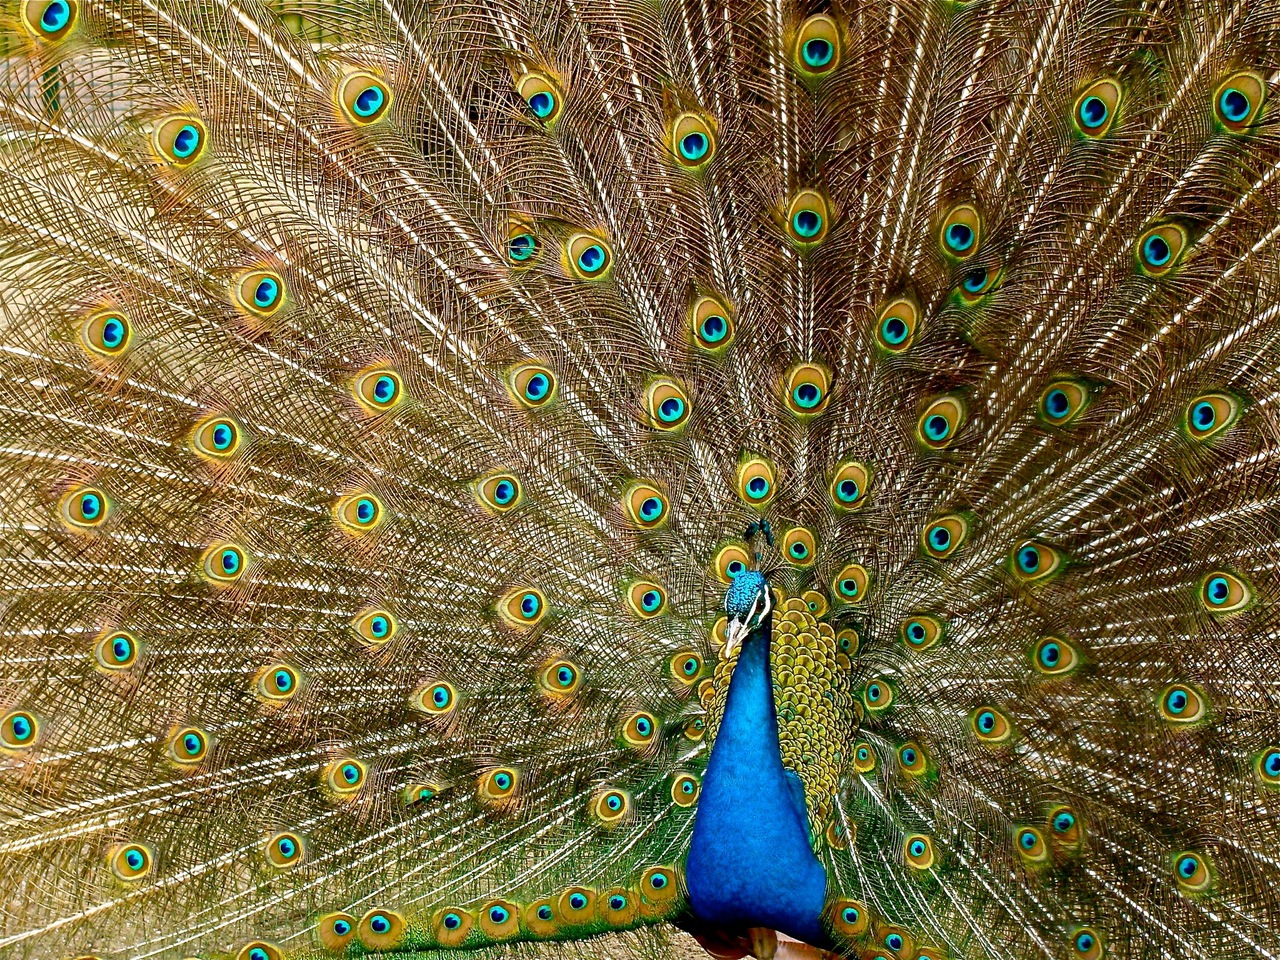
 ries (nature, people, cities, computers, music, fashion, car, fitness, landscape..) and are also searchable by keyword. The images I examined were of high quality and resolution. If you need images of plants or animals in nature, there are some to be found here–see example at right.
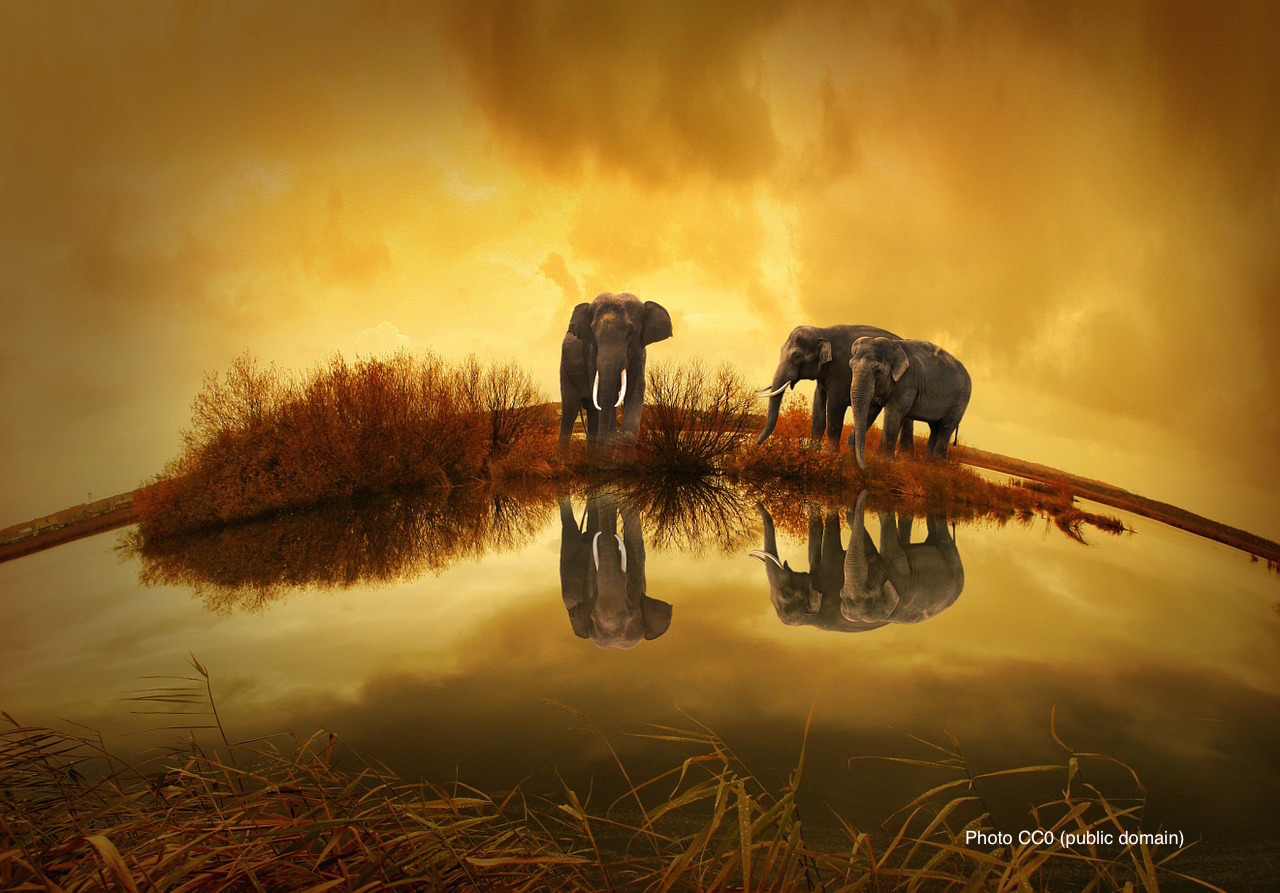
 nd your photo, the site then directs you to the source to download. You can save a lot of time by searching here first.