The use of Unmanned Aerial Vehicles (UAVs), or drones as they are popularly called, for aerial photography has increased dramatically in recent years. This guest post by Thomas Foster provides a brief background and a few basic instructions in the use of UAVs to conduct aerial photography.
Aerial photography is a popular type of photography, which can be done using various approaches. One of the easiest methods is to photograph from the top of a tall building, mountain, or other place that provides a good vantage point. An even better way is to hire a balloon or helicopter. However, this latter approach is expensive and may not reach all the areas you need to photograph.
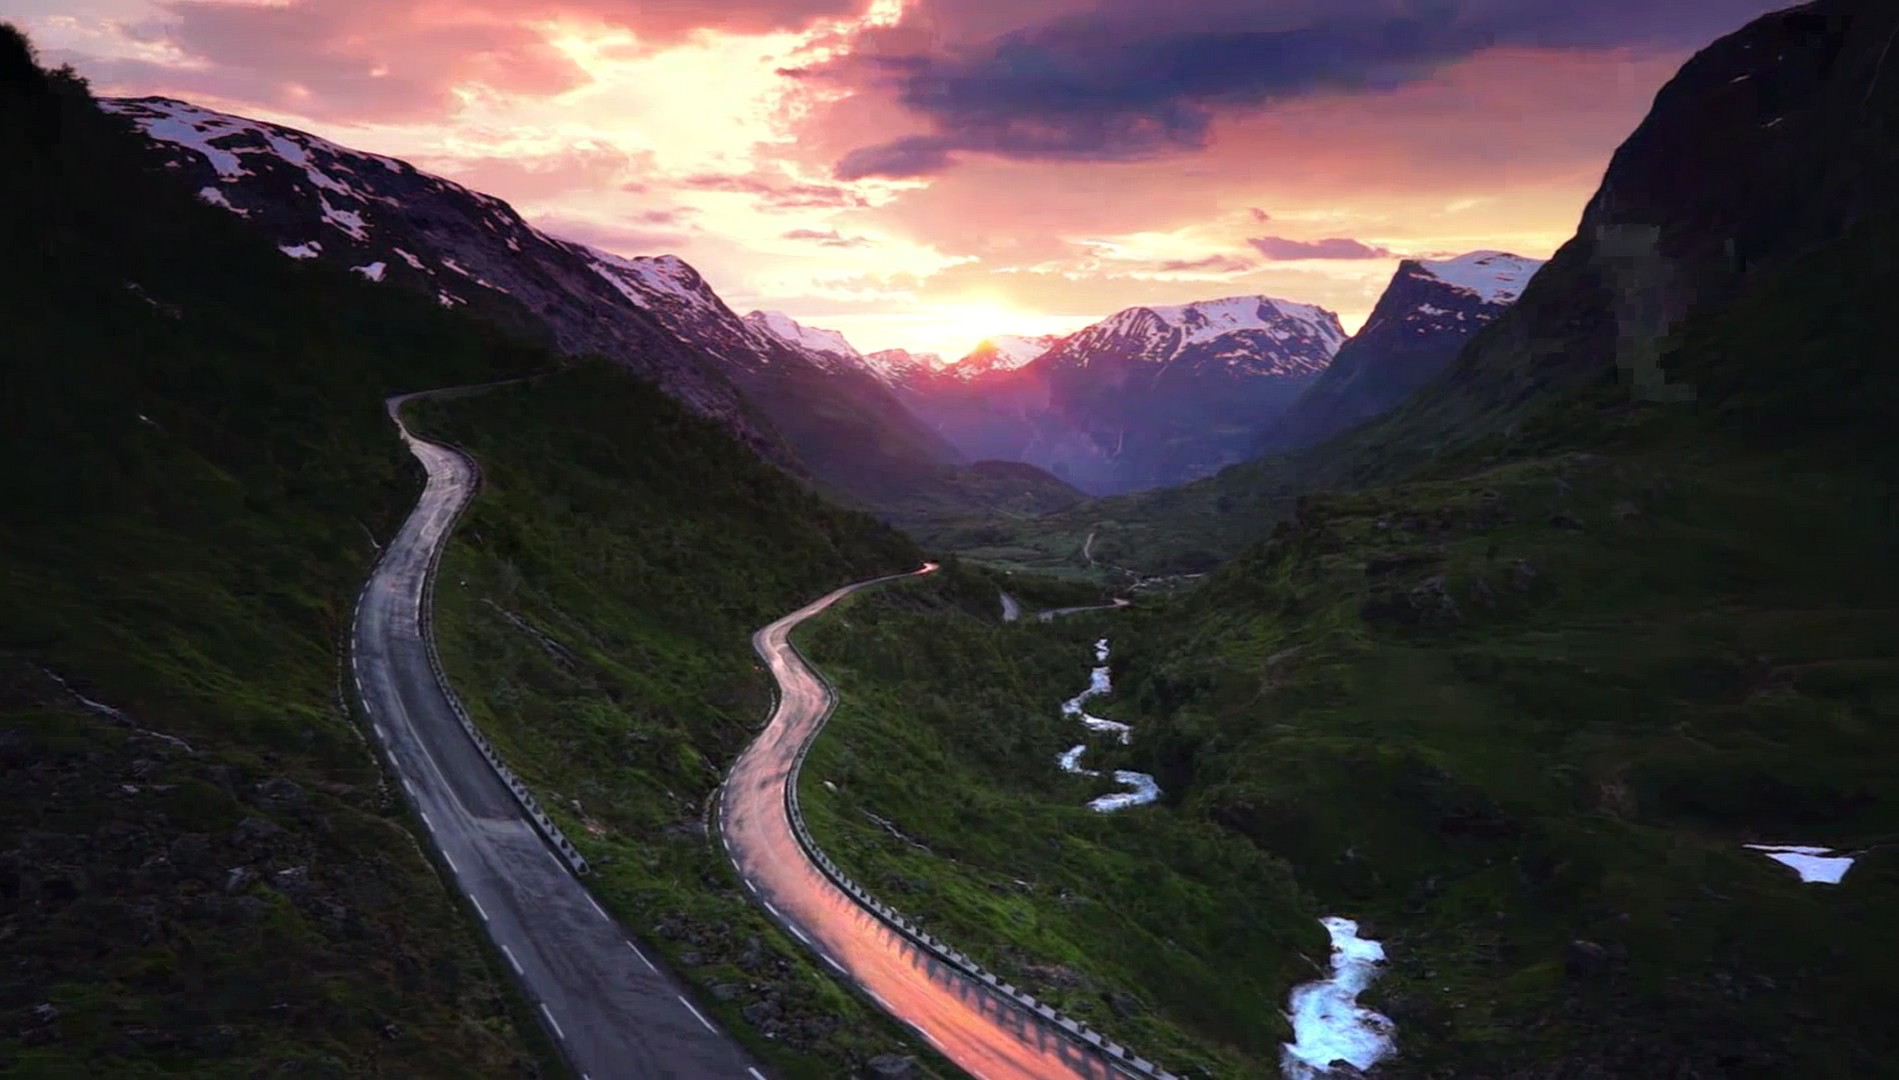
Photo of Norwegian landscape. Taken in May 2014.
With the development of small UAVs (Unmanned Aerial Vehicles), commonly called “drones”, photographers have a new and more flexible way to capture aerial photos. These aircraft can be operated by remote control to fly according to the wishes of the pilot on the ground. Drone technology has enabled photographers to reach even more areas and make even better photos than in the past. Their small size means that photographers can more easily access specific spots from where they can get a good view of their subjects. Their cost can vary a lot depending on quality. The cheapest drones (with camera) cost $100 or more, but higher quality models may exceed a few thousand dollars.
A brief history of aerial photography
The first known aerial photograph was taken of a French village in 1858 from a balloon piloted by French photographer, Gaspar Felix Tournachon, known under the pseudonym “Nadar”. The technology was not well developed—for example, Tournachon had to develop his photographs in the air and needed a darkroom in the basket of the balloon. This procedure was difficult and as a result, the quality suffered.
Other artists of that time copied his technique, but the results were generally not much better. Even so, these early aerial photographers captured some important landscapes and events of their times (see image below) and paved the way for further advances.

Photo of San Francisco after 1906 earthquake. Taken by George R. Lawrence in 1906 (public domain)
During the First World War, aerial photography advanced quite a bit, driven by the need of warring countries to determine the enemy’s battle positions. Over half a million aerial pictures were taken during the war. After the war, aerial photography was used for commercial purposes. Companies needed aerial photos of cities and landscapes, for example. Another advance occurred in World War 2, again driven by the need to record the enemy’s front lines. After the war, aerial photography continued to advance and eventually developed into the modern technology we know today.
Aerial photography is evolving again with the development of drones. People are using drones to capture aerial images in such diverse areas as agriculture, wildlife monitoring, environmental research, commercial delivery, filmmaking, mapping, disaster relief, and search and rescue. Drone technology and associated photographic techniques are advancing rapidly as people discover new ways of using them.
Some common-sense rules to follow
There are many things that you should be careful about as an aerial photographer. Most of all, it is important to respect the rules of flying, listed below and also available on the FAA (Federal Aviation Administration) website:
- Fly below 400 feet and remain clear of surrounding obstacles
- Keep the aircraft within visual line of sight at all times
- Remain well clear of and do not interfere with manned aircraft operations
- Don’t fly within 5 miles of an airport unless you contact the airport and control tower before flying
- Don’t fly near people or stadiums
- Don’t fly an aircraft that weighs more than 55 lbs
- Don’t be careless or reckless with your unmanned aircraft – you could be fined for endangering people or other aircraft
Those rules apply in the USA where it’s also necessary to register your drone if it is more than 0.55 lbs. (250 g) and less than 55 lbs. (25 kg) (larger aircraft require a different procedure). In other countries, there are different rules, although many are similar to those listed above. In general, you should ensure you don’t endanger anybody or their property while using drones to capture aerial images. Another important point to consider is that when you are recording footage of private property, you need the permission of the property owner if you want to publish the footage anywhere.
About the camera
Camera quality is important in aerial photography, and there are a few points you should consider when buying a camera. The most important features are the ISO settings, which determine the camera’s ability to adjust to the light conditions, and the image resolution. Other important features to look for when buying a camera are the field of view (FOV) and the weight of the camera. Many quadcopters (and drones) offer a so-called FPV (First Person View) system. This option allows the drone-mounted camera to transmit video in real time, making the experience of flying the same as if you were in the aircraft. The camera quality of FPV is usually not great because the transmitter cannot send a high quality picture in real time. In other words, this type of camera provides a lower quality image, which may be unacceptable to some users. To compensate, many photographers attach an extra camera to the FPV drones to enhance the flying experience while simultaneously recording a high quality image. This combination provides a preview of the scene and gives more control to the pilot in deciding when and where to take a photo.
Some aerial photography tips
When you are finally recording aerial images, you want to ensure that they are of the best quality possible. Here are some tips to improve the quality of your pictures;
- Before you begin, think about what you are trying to capture and how you are trying to capture it. Then decide on a plan of action. For example, think about how much you need to zoom in relation to how far away from the target you are. At a minimum, make a list of shots you wish to take and from what perspective and altitude. By having a clear plan prepared beforehand, you will save a lot of time and effort in the field.
- Watch the weather forecast because unfavorable conditions such as strong winds can ruin your photos. The position of the sun is also important because of how it affects lighting. Keep track of the sun in relation to the drone’s flight path and adjust accordingly.
- Always adjust the camera settings prior to a flight and select the proper lens for the situation. For example, sometimes it is beneficial to use a short lens when you plan to make pictures of a large area and you want to make it look bigger. Long lenses are useful if you are focusing on smaller objects. By preparing the camera properly for lighting and other conditions, you will be more likely to get the desired image.
- Try experimenting with moving the camera during flight. Some drones have a movable gimbal, which is a great feature. For example, you can adjust the point of view when you are at different heights. With this approach, you can better synchronize flying and taking photos.
- As mentioned above, some drones have FPV mode. If your drone has this option, give it a try. You may find that this mode makes aerial photography easier and also improves the quality of your images.
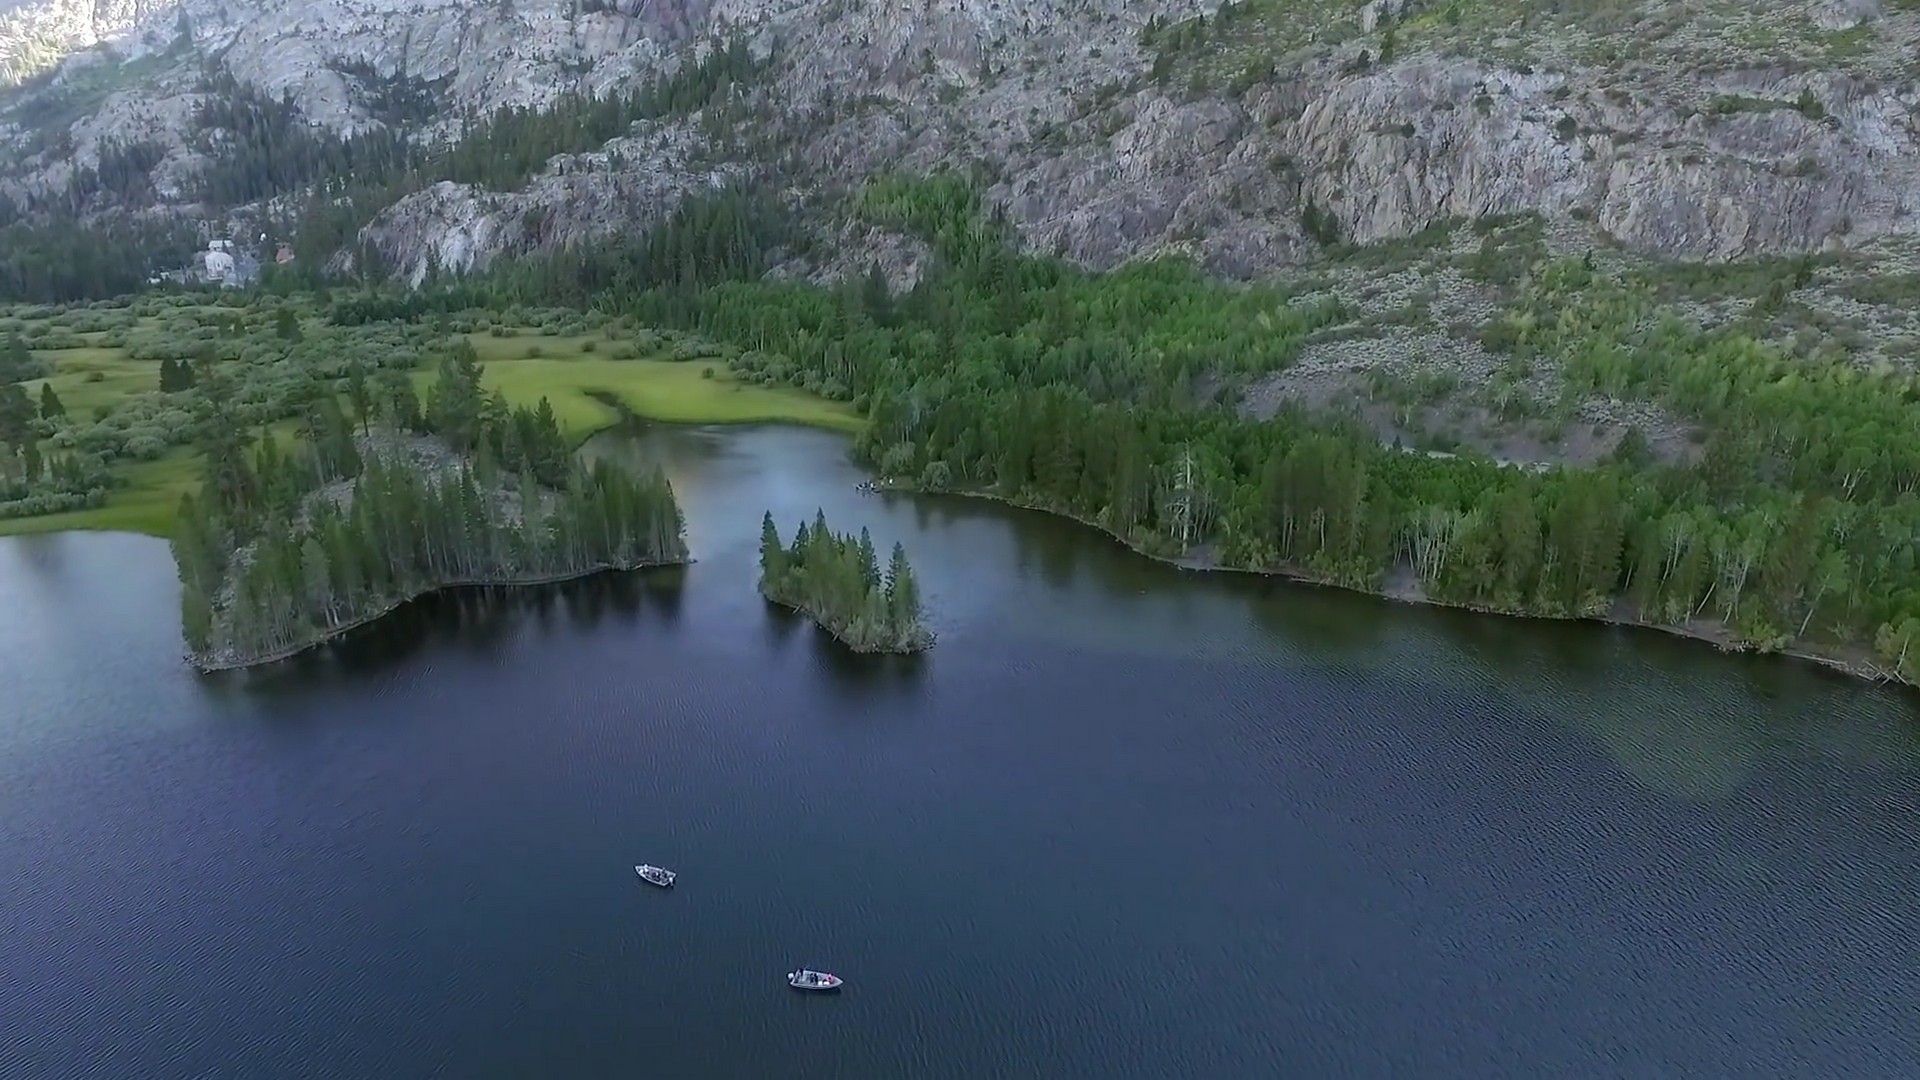
Photo of Norwegian lake. Taken in May 2014.
About the author:
Thomas Foster is a quadcopter enthusiast and a big fan of quadcopters with cameras, which he uses to record aerial photographs and videos. He is also an active observer of the changes in drone industry. In addition, he hosts a site about best quadcopters with camera where he compares best quadcopters currently on the market. You can also find him on Twitter.