
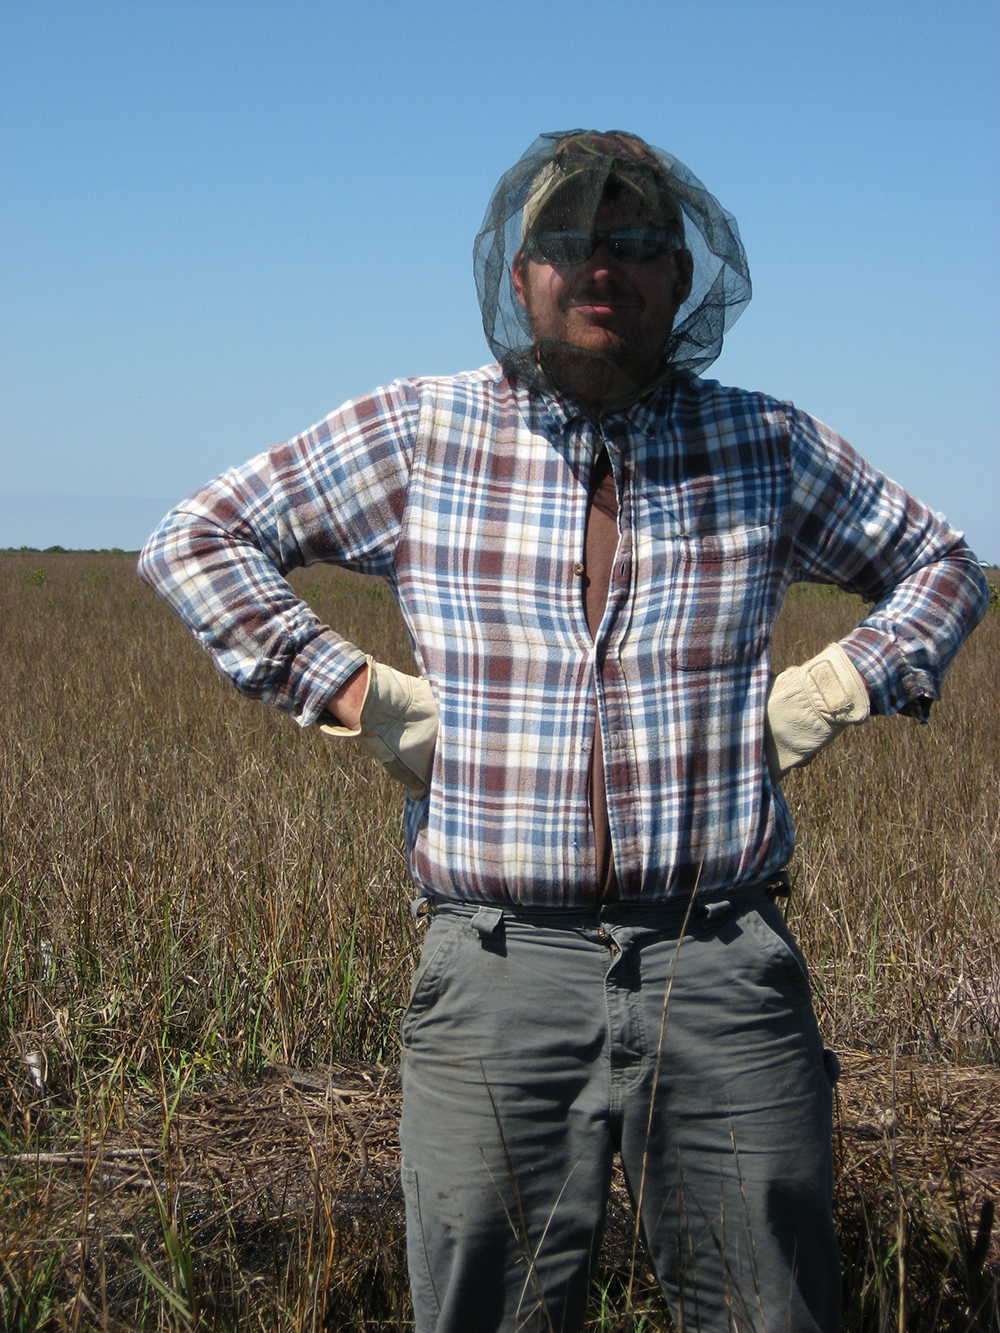
Building a professional identity is an important process that produces a distinctive image or brand—one that is uniquely yours and sets you apart. However, the process of creating and maintaining a singular identity can be challenging and intimidating, especially for those in the early stages of their science career.
Visibility, especially online, is key to constructing a professional profile in the 21st century. Video is an efficient and effective way to share information about your unique interests, skills, and abilities with the scientific community and, in the process, craft a strong professional identity.
Video can be used to (1) visually demonstrate your skills in a particular area of expertise; (2) verbally explain your career goals, research interests, or teaching philosophy; (3) increase the discoverability of your work products online; (4) make your journal articles more memorable; (5) produce an online repository of conference presentations and seminars; or (6) convey intangible qualities such as confidence, enthusiasm, and curiosity. Video can be a powerful tool for science professionals seeking to strengthen their reputation in a particular area or to facilitate a career transition.
I was recently invited to give a talk in a symposium focused on career development and professional “branding”. I put together a presentation entitled “How to Use Video to Strengthen Your Professional Identity in Science”. In the Prezi talk below, I explain how to use video to assist in the process of professional branding, whether you are in academia, government, or private industry, and provide several examples.
If you are fascinated by time-lapse videos, this news item might be of interest. A group at the University of Washington (in collaboration with Google) has created an automated process of scanning the 86 million photos posted online and turning them into time-lapse videos showing glaciers shrinking, skyscrapers being erected, and much more (a total of 11,000 time-lapses). Their approach involves clustering the photos into landmarks or popular photographic sites, sorting by date, warping each photo to a common viewpoint, and stabilizing the sequence to minimize changes in lighting.
Below is a video showing some of the 11,000 time-lapses they created:
And here is a preprint of their paper to be published in ACM SIGGRAPH 2015:
A commenter recently took me to task for using a blog post title that was misleading. The post, which was one of my first on this blog (August 2012!!), described a film editing technique called “montage” in which the filmmaker uses a series of still images instead of footage to tell a story in a video. The title of the post was “How to Make a Science Video Without Film Footage”. The commenter said that I failed to tell how to do it, what software to use, or to provide a tutorial. Therefore, my post was “wrongly named”.
My intent with that post was to encourage budding scientist videographers, who have no video footage but do have lots of photographs depicting their research, to go ahead and make a video with whatever media they have in hand. I described how someone in this situation could still create an effective video with a sequence of photos and included a video example that primarily used still images to produce a narrative. I also described how one might use the “Ken Burns” effect to add motion to photographs and also sound effects (birds or crickets chirping, water sounds), all of which add to the illusion of movement in the montage.
My plan was to do a follow-up post and tutorial to demonstrate how to implement the montage technique….but I never got around to it.
The comment, though, told me that people were searching for tutorials showing how to make a video without film footage. So in this post, I would like to offer a tutorial that shows step by step how to edit still images to create a video. As you will see, I provide instructions on how to import photos, how to add a “Ken Burns effect”, how to add transitions between photos, how to add text titles, and how to add music or sound effects to bring the montage to life. Although I used iMovie (Version 10.0.8) for this tutorial, the principles of the montage technique generally apply to other editing software.
Note: This tutorial assumes that the viewer is familiar with the basic editing tools in the iMovie application (or some other editing software). However, you don’t need a lot of editing experience to apply this technique. In fact, montage is perhaps the easiest technique for a novice videographer to use when first starting to make videos.
Be sure to select the HD version (1080p) and full screen for best viewing (direct link to the video on YouTube):
If you’ve been following this blog, you know that video is an excellent way to record and share biological, chemical, or physical phenomena. Of course, we want to be able to easily share videos with colleagues and students, such as at conferences. In an oral presentation, it’s relatively easy to embed a video in a PowerPoint or Prezi slideshow and share footage of a new species, a time lapse of a melting glacier, or some other event or process that is the focus of the talk.
With posters, though, you are pretty much stuck with a two-dimensional, static image and no obvious way to share a video about your research. Yes, you can write out the URL to a video in the narrative on your poster, but people are unlikely to spend time typing it into their smartphone or tablet. Although there are some conferences that provide electronic screens to display a virtual show of posters, these often are set up to show only individual images of submitted posters and do not support additional media such as video. Most of the conferences I attend are still using the traditional printed poster.
How do you share a video in a printed conference poster?
There is an easy way to share your video with visitors to your poster, and that is with a QR code. A QR (Quick Response) code is simply a unique barcode that contains information about something, for example a URL. The idea is that you get a QR code for the weblink to your video and display it on your poster. A visitor can scan the code with their smartphone and then watch your video. This is not a new idea, of course, but I’ve found that many people I mention it to have never heard of it and have no idea how to go about using a QR code to add video to a conference poster. So below, I’ve shown how to go about getting a QR code and how it works.
How do you acquire and use QR codes?
First, you need to have your video posted online somewhere, such as a video-sharing site. Then all you need do is to copy the link to that video (see provided URL under Share).
Second, you need a QR code generator. There are several such as this one. Below you see that I’ve inserted a link to the video, and the generator has created a unique barcode for it, which can be downloaded as a jpg.
Third, you must download and save the image. Now, all that’s needed is to paste the QR code image into your poster in an appropriate spot. Below, is an example poster with the QR code inserted (outlined in blue at the top of the middle panel), just to illustrate. You may want to make the QR code larger or more obvious to the casual reader than I’ve done here. In fact, until people become familiar with QR codes, you may need to draw attention to yours.
Also, you may need to provide brief instruction on your poster about what the QR code is and how to scan it with a phone or tablet. Not everyone is familiar with QR codes, so you should explain or show how to go about scanning the code with an app on a smartphone. This might be accomplished by creating an explanatory box with instructions, a diagram, or a photo. I’ve created an example below in which I show a screenshot of a barcode scanner app along with the QR code to my video. It is self-explanatory and shows how the app works.
In summary, you can use a QR code on a conference poster to share a video that displays a method or some other aspect of a study. You might even create a brief (1 minute) video to welcome visitors to your poster and to provide a quick presentation of your main findings. When people visit your poster, but you are not present, they can still get a personal tour.
Most of you probably have a resumé or CV (Curriculum Vitae) to give to potential employers or others who may need it to evaluate you. Most resumés and CVs look alike, however, and often don’t get across what is particularly compelling or unique about the person it describes. In today’s competitive world, it’s important to distinguish yourself from others and create a lasting impression. How can you convey what separates you from the crowd?
One idea that is growing in popularity is the video resumé.
A video resumé is a great way to visually show who you are, what you know, and what you are good at. The idea is to create something that augments your text resumé and really drives home what makes you special. The audio-visual features of a video resumé provide quite a different perception of a person compared to the traditional, written resumé, which is typically dry and impersonal (just the facts, ma’am). The video resumé can help you get across the answers to the questions an evaluator is most concerned about:
What distinguishes you from your peers? What special skills or knowledge do you have that is in high demand? What is your most outstanding work and why is it important? What kind of person are you? What are you passionate about? How do you handle challenges? How do you work with others?
Of course, if you are going to use a video resumé, it must be outstanding. Just like a traditional resumé, a video resumé must be well organized, accurate, free of technical errors, and accessible on common platforms. Don’t even consider producing a video resumé unless you are willing to put the necessary effort into making a good one.
In this post, I’m going to go through the steps for creating an excellent video resumé, including preparation, design, recording, and sharing.
Step 1: Understand what makes a good (and bad) video resumé
As in any new endeavor, a good place to start is to see what makes a good video resumé. For many readers, especially those in the science profession, the concept of a video resumé may be totally new. I imagine most of you have never even seen a video resumé.
So let’s first take a look at a good one:
I selected this example because I thought it was technically sound as well as effective in its purpose. What features make this video resumé good? First off, the video was short (exactly one minute) and to the point. Brevity is essential because a potential employer is not going to waste time watching a long video of you, especially one that simply restates what’s on your written resumé. This video conveyed the person’s qualifications and experience effectively and efficiently. Most importantly, this video resumé actually showed the person at work, which emphasized his technical skills, his knowledge, and his on-the-job experience. In other words, the video provided visual evidence of his qualifications as an expert in a unique field. The voice-over provided additional key information about his educational background, the types of equipment and processes he knows, and the people his work supports. However, he did not go into great detail in the video about his qualifications and background—that’s what a text resumé is for. Instead, he emphasized those skills and experiences that distinguish him as a niche expert. Actually seeing him in action produced a memorable impression about what kind of person he is and why he is unique. And memorable impressions, I would argue, can help someone stand out from the crowd.
Now let’s consider another video resumé:
That video resumé is, of course, a parody, but it gets a number of points across about how not to make a video resumé: Excessive special effects, over-the-top music, a fake interviewer, a superior-than-thou demeanor, fake settings to show off impressive but unrelated activities, use of made-up jargon (the “possimpable”), talking but saying nothing, listing no useful attributes (trustworthy, punctual, detail-oriented, and AWESOME are pretty meaningless descriptors).
You can find more bad video resumés by searching YouTube with the keywords, “video resumé” and scientist. Most of these make the same mistakes:
The video shows the scientist sitting stiffly in front of the camera and never deviates from that frame.
The scientist simply repeats information that can be found in any text CV.
The scientist does not speak clearly, speaks too rapidly, or speaks in a robotic monotone (or all three). Some are clearly reading a script.
The scientist shows no energy or passion.
The information presented does not distinguish the scientist from his/her peers.
The video does not show the scientist actually doing science.
I could go on, but you get the picture. Once you have an idea of what goes into a good video resumé, the next step is to decide on equipment and software.
Step 2: Select your equipment and software
You need a device that records video, preferably in HD (high definition). You can use a smartphone, a digital camera, an iPad, or a webcam (see this post for some tips on filming with a smartphone). You will also need an external microphone to get good quality audio—especially if you are a distance from the camera (see this post about microphones). Unless you’ve got someone to help you operate your recording device, you will need a tripod (there are inexpensive desktop tripods and phone mounts you can purchase).
No matter how good you are at filming, you will need to edit the footage. For this, you need movie-editing software. If you have access to a Mac, you can use iMovie, which is easy to learn. The iMovie version for iOS can be downloaded to an iPhone or iPad for about $5. There are more expensive applications, but these usually require a lot of training and practice.
Step 3: Decide on a structure and pacing
Here, you want to set a time limit and select what type of format your video will follow. These decisions will be determined in part by the equipment you use and your experience with the hardware and software you selected in Step 2. If you have no experience with video, then a simple format may be best. Those with some experience or access to filmmaking equipment and software have more options.
It’s important right from the start to set a time limit because that will force you to focus on only the most important aspects and to be creative. The video resumé example above was one minute long, which was plenty of time to get across key information. There are movie trailer-like templates that can be used in editing to create a fast-paced video resumé (more about this below).
The format of your video resumé can be similar to the example: footage of you conducting your work with your voice-over describing what’s happening. This approach is technically the easiest to pull off.
Another option is to speak directly to the camera, interspersed with images or clips of you working and interacting with others. If you work in really interesting environments with amazing scenery, your on-camera speech can be delivered hanging in the canopy of a rainforest, standing on a glacier, crawling through a cave or walking through an impressive research facility. However, remember the Barney Stinson example? Don’t use a backdrop that has nothing to do with your work.
If you have friends or colleagues who are willing, another idea is to film a few people you work with expressing their opinion of you (preferably good ones). A few clips of co-workers or students talking about what it’s like to work with you can be impressive—if done well.
Step 4: Write your script and plan your shots
Yes, you need to write out a script. A script doesn’t have to be followed word for word during filming, however. It’s there to help you plan your shots and keep within your time limit. Also, if you are planning to use voice-overs, a script can be quite helpful.
When I make a video, I usually start with an outline, dividing the video into three parts: a beginning, a middle, and an end. I then add the major points to cover within each section. Finally, I write out a narrative addressing those points. Once I have a narrative, I read it aloud and time how long each section takes. If I’m way over my target time limit, I will go back and cut some of the narrative or rephrase it to be more concise. I also know that I speak at about 150 words per minute, information that helps me when writing my narrative.
For a video resumé, the beginning can be a simple introduction that explains who you are and a bit about your background. In the middle, you spell out what distinguishes you from your peers. At the end, you sum up by stating your career goals or passion for your work or some other memorable ending.
Before you begin filming, you must decide who or what will be shown in each scene of your video. With a script (or at least an outline) in hand, you can better plan your filming. Go through the script, section by section, and decide what footage, images, diagrams, or other graphics will be used to deliver that information.
For the introduction, will you film yourself in the laboratory operating an instrument while your voice-over explains that you have ten years of experience working in a biogeochemistry laboratory? Or will you film yourself emerging from the ocean in scuba gear and explain to the camera that your research focuses on the effects of ocean acidification on coral reefs?
In the middle, you want to illustrate those attributes that set you apart. Be creative and try to plan footage that illustrates your key skills or experience. If you have extensive experience leading large research teams, then don’t stand before the camera claiming this experience; film yourself leading a group of people in the laboratory or the field. Don’t go overboard like Barney Stinson, though. Select a few scenes or backdrops for your footage; you can also add still images of organisms, equipment, facilities, or landscapes to your video—if they are relevant to your work.
At the end, select something memorable to say or to show. Emphasize your main message—who you are, what you know, or what you do best.
Step 5: Lights, camera, action!
The next step is to record your video. This step will likely be the most challenging for you, even if you have some experience. Because the video is about you, your image and/or voice will be part of it. Speaking in front of a camera can be intimidating, however—even seasoned teachers and professors get tongue-tied when that red light goes on. The answer is practice. Practice your script until it feels natural. Film your practices and then review this footage. This approach takes time and may be painful, but will definitely help you get over fear of the camera and to deliver your lines smoothly.
During filming, if you flub your lines, just do a retake. If you have trouble remembering your lines, break the shots down into smaller clips and peek at your outline or script in between takes to help you remember what to say. If all else fails, you can use the voice-over approach illustrated in the video resumé example above.
There are many do’s and don’ts in filming. You can avoid most beginner mistakes simply by being aware of them—check out these tutorials that should help:
You need to edit your video resumé so that you can remove mistakes and organize your footage into the desired sequence. You will need movie-editing software to accomplish this step. There are many tutorials on movie-editing—the basics as well as how to use specific applications. For example, the mechanics of movie editing with iMovie for mobile devices are covered in this tutorial: iMovie for iOS Tutorial Updated. If you are interested in the movie trailer format for your video resumé, I cover how to use iMovie trailer templates in this tutorial: How to Create a Book Trailer with iMovie.
Editing is more about removing material than adding material such as special effects or music. You need to be ruthless in trimming your footage down to your target length. Use only the best footage to illustrate your background, your work skills, and your on-the-job experience. These clips need not be long—even a few seconds will be enough to show off a skill. Note: scenes longer than 5 seconds will make your video resumé seem to drag. Review the video resumé example above and see how short each scene was—most were 4 to 5 seconds long.
You may want to bring in additional media (photos, graphics, animations, music) to enhance your video resumé. A word of caution here: do not use anything downloaded from the internet unless you are sure it is in the public domain (e.g., from a U.S. government website) or you get written permission (or pay a license fee). Your best option is to create all the content for your video resumé. If you need a shot of a boat, a building on campus, an organism, or a landscape, take your smartphone or camera out and shoot it yourself.
The next step is to publish your video resumé online. Even if you don’t want your video resumé publicly available, you will need to make it easy for a potential employer to view it. Most video files are going to be too large to email, and you can’t be sure the recipient will have the correct software to view it. The easiest way to share your video is to use a media-sharing site such as YouTube. You will have the option to keep your video resumé hidden from public view—only people with the link can see it. Once the video is uploaded, you can insert the hyperlink into a text resumé or you can send the link to a prospective employer. This approach also facilitates posting your video resumé on your website. An embed code is created for each video uploaded, and this is used to insert the video into a website. Watch this tutorial to see how to upload a video to YouTube: How to Upload Your Science Video to a Media-Sharing Site.
If you wish to make your video resumé publicly available, you can use the link or embed code for your published video on multiple platforms:
Your website: use the embed code for your video resumé to install a player window (in desired dimensions). That’s how I embedded the videos above in this blog post.
Your blog: if you host a blog, you can include your video resumé on the About page.
Your Twitter or Facebook Page: share your video resumé through social media, which will then automatically embed the video in your site.
Professional Networking sites: you can put the link to your video resumé on LinkedIn or ResearchGate. LinkedIn allows embedding of multiple videos. On ResearchGate, you can insert the link to your video resumé in the “About” section.
Well, that’s about it. If you are thinking about creating a video resumé, these guidelines will hopefully put you on the right track.