Dr. Caruthers is a scientist who studies large river deltas AND wants to share her science with policy-makers and the general public, BUT does not know how to craft her message so that it is understood and appreciated by non-specialists; THEREFORE, she decides to attend a workshop designed to help her learn how to create and deliver an engaging story about her field of study.
The question is, can Dr. Caruthers unlearn years of training and become a more engaging communicator? She has been taught a certain way of explaining science, which works if she is speaking to colleagues. However, scientists and science educators must frequently explain their work to non-specialists (students, policy-makers, the media, the general public) who don’t necessarily appreciate a “just the facts” approach.
Of course, Dr. Caruthers does not exist, and that is a fictional narrative I created using the
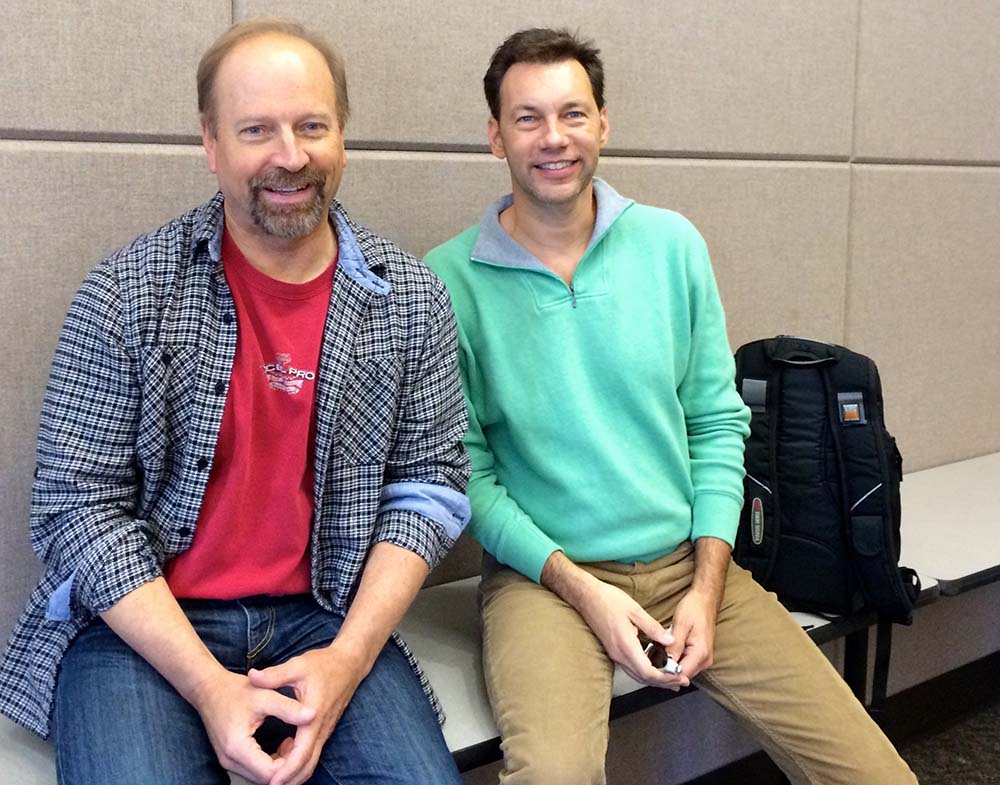
Randy Olson and Brian Palermo
ABT (AND, BUT, THEREFORE) template, which is part of a storytelling system developed by Randy Olson and his colleagues, Brian Palermo and Dorie Barton. For three days, professors, staff, and students at Louisiana State University and Southern University heard presentations and attended “Master Classes”, led by Olson and Palermo on the LSU campus. The goal of their workshops is to help scientists, educators, students, and others tell better science stories. They’ve written a book (Connection: Hollywood Storytelling Meets Critical Thinking) in which they lay out their formula for creating more compelling science messages. They’ve also created an app called “Connection Storymaker”, which I’ve described previously, that provides an electronic template to guide the user through the steps involved in structuring a good story.
I attended the two hour seminar held on February 7 and then one of the “Master Classes” on February 9 (thanks to Gene T. for letting me register late). I’ll describe these and give my impressions below. But first, an introduction to “storytelling”.
Storytelling: What It Is and Isn’t
When scientists hear the term, storytelling, they often think that it means fabrication, exaggeration, or “tweaking” the facts to tell a better story. However, that is a very narrow interpretation. Storytelling is simply a description of events using words, images, or other means for the purpose of entertainment, education, or teaching morals. It might involve a fictional account, but not necessarily. I think the fear that scientists have is that storytelling involves cherry-picking of facts and data to tell a skewed story. However, our scientific papers are actually formatted to tell a story: This is my hypothesis (Introduction); this is how I tested it (Methods); this is what I found (Results); this is what I think it means (Discussion); and this is how it fits into the bigger picture (Conclusions). This traditional story formula is one that scientists expect and understand. However, this structure won’t work well for non-scientific audiences. And that’s where storytelling comes in.
Because of the poor connotations associated with storytelling, Olson and others now suggest the use of the term, “narrative”. I’ll have more to say about this in another post. For now, it is sufficient to understand that storytelling or narrative is a means of conveying science information in a way that is interesting, appealing, and memorable to most humans.
The Seminar
The seminar was a joint presentation by Randy Olson and Brian Palermo. Olson is a former marine biologist who left academia to become a filmmaker and author. Palermo is an improvisational actor and instructor in Hollywood. They talked a bit about their storytelling collaboration and then covered some of the basics of storytelling described in their book. The central message of the presentation was that scientists and others can learn to use narrative structure to develop more effective ways to communicate science, especially to broad audiences. Olson described the concept of using a simple narrative structure to engage even those totally disinterested in a scientific topic. Palermo elaborated on the importance of how the message is delivered and described how improvisational exercises can help scientists appear less “cerebral” and be more approachable and likable. Their presentation was punctuated with some interactive audience exercises, which served as a preview of what would be done in the smaller workshops.
Before and after the seminar, I talked to a few people and asked them why they came. Several said they had never heard of the speakers and did not really know what to expect; they came because they were curious. Others said they had heard Olson speak previously and wanted to hear more. A few, like me, were already on board with the idea that scientists need better communication skills and were there to learn and participate. I was particularly curious about how an academic audience would react to the idea of storytelling and how easily the workshop participants could learn to use storytelling techniques.
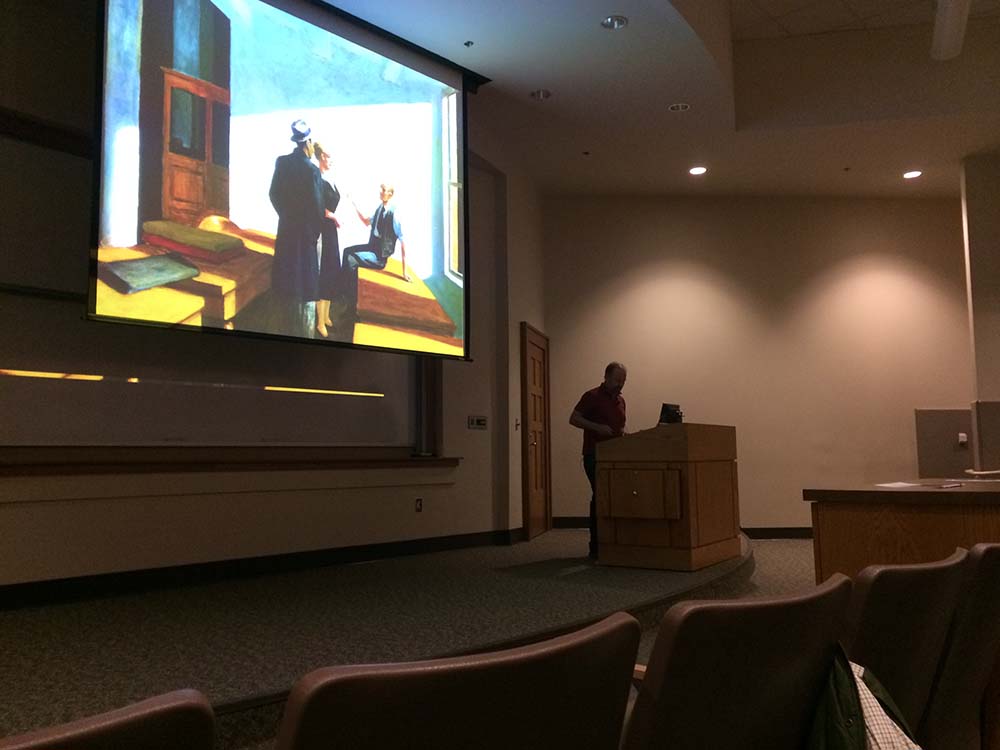
Randy Olson seminar at LSU
My impression was that the audience found the seminar interesting and informative. Most seemed to be open-minded and receptive to the ideas presented. However, all were perhaps not clear on whether or how the information might relate to them. I know some have misgivings about the whole storytelling concept (apparently a common reaction among scientists and academicians) or are not interested at all in broader science communication. And they also may have some concerns, as I do, about when and how to use storytelling techniques with different audiences, e.g., general public versus scientists.
Both Olson and Palermo were generous with their time and continued talking with participants during a post-seminar mixer and over dinner that evening.
The Master Classes-ABT Exercise
Three Master classes were held over the weekend following the seminar. These sessions were divided into two parts, each led by Olson and Palermo. The first part focused mainly on how to use the ABT approach to develop a narrative. Each of the participants had been instructed to bring an example that they had developed using the ABT template. What this exercise confirmed for me was that most scientists and science students have no clue how to craft a compelling narrative. Most of the people in my workshop came with narratives that were too cerebral and jargony and not very compelling, despite having used the ABT template.
Let me hasten to add that that’s exactly how I would have written a narrative about my science before I got involved in science communication. We get so focused on our specialties and are so familiar with the information that we cannot see that others may find it incomprehensible. As Olson pointed out to the group, scientists have blinders on. During the exercise, he had the participants read their narratives out loud and then tried to help them focus in on the compelling story hidden within all the scientific mumbo-jumbo. Only one person successfully came up with a compelling narrative on his own (he reworked his after hearing some of the discussion). For everyone else, it was going to take more thought and work.
From my perspective, I could see what needed to be changed in others’ narratives to make them more appealing and understandable. However, I know that I would have difficulty seeing my own narrative with such clarity. I’m simply too close to it. It also struck me during this exercise that it really takes someone else (preferably totally unfamiliar with your topic) to hear your narrative and help you see it from another perspective. When people were asked questions about their narrative or for specific details, a much better story emerged. That was a big eye-opener for me—that many scientists need to solicit (and pay attention to) feedback when developing their narratives. Just plugging their words into a formula is not necessarily going to produce a good story—at least not right off.
However, I’m afraid that scientists will resist this type of input, especially from non-scientists (we are all such know-it-alls, especially when it comes to our own work). But we need to have the blinders ripped off. We need to realize that when it comes to communication, we are not necessarily the experts. That does not mean that we should accept without question a new way of doing things—just that we should keep an open mind and consider other approaches. We especially need to get input from our target audience to help guide our narratives.
Although I find the storytelling approach useful, I also think there are some subtleties to using such techniques in conveying science information that have not been fully explored. Communication with non-specialists, especially the general public, definitely requires some type of narrative approach. For professional audiences, however, one must be a bit more circumspect. I think it’s possible to give a scientific presentation and use a narrative structure to capture and hold the audience’s interest. Putting the research into a historical perspective is one example. However, there will be people who will be highly critical of any scientific presentation that deviates from the traditional format. For an established scientist, such an approach might be tolerated, or even seen as creative. For a student or junior scientist, however, telling a story may be a riskier move if seen as a sign of inexperience or manipulation. Another issue is trying to tell a complex story in simple terms (as Olson explains in this post, Beware the Simple Storyteller). I may explore these aspects in future posts.
In summary, the workshop gave people a chance to try out the narrative approach, but it will take practice to use it effectively and appropriately.
The Master Classes-Improv Exercises
The second part of the workshop was led by Brian Palermo, who is a dynamic teacher and motivator. He took us through some basic improvisational exercises that thankfully were not too embarrassing. For example, we were asked to pair up and display an emotion that we were assigned (confident, knowledgeable) using only body language to see if our partners could guess it. The idea was to illustrate that how we think we are being perceived by others may be totally wrong (we may think we look confident, when others interpret our body language as arrogant or creepy).
Other exercises also were designed to get us “out of our heads”. I enjoyed doing these exercises, and most of the other participants seemed to also. They were meant to give us a taste of what it’s like to be spontaneous (a foreign concept to many scientists).
Improv can help you:
1. listen better (and connect with people)
2. become more aware of what signals your body language is sending (I’m confident speaking to a large audience vs. I’m an arrogant know-it-all)
3. shift our perspectives (from inside our heads to our audience’s)
4. reconnect with our emotions and more naturally display them (for example, showing enthusiasm for our work)
5. think on our feet (might come in handy during oral exams or during Q&A at a conference presentation)
6. react quickly to deal with the unexpected (like when the bulb on the projector burns out during your job interview seminar)
7. learn how to use humor effectively (note, however, that this is not a suggestion to tell a silly joke or turn your conference talk into a stand-up routine)
8. quiet your mental critic, allowing you to be more relaxed and less self conscious (very helpful for those with stage fright)
9. appear to be a normal human being (if you tend to talk and act like Mr. Spock on Star Trek)
I could go on, but you get the idea. Being an introvert, I find such exercises challenging but helpful. If you suffer from social anxiety and especially stage fright, improv might be one way to overcome it. One estimate puts fear of public speaking at 40% of the American population in 2001, just behind fear of snakes at 51%. I’ll have more to say about such fears (especially fear of the camera and how to overcome it) in upcoming blog posts.
Well, if you are still reading (I did not intend to go on so long), I’ll sum up by saying that scientists and science educators can benefit from understanding narrative structure and how to use it to convey a more engaging science message. The system developed by Olson and colleagues is simple and straightforward because it distills what is actually a complicated process down to an easy-to-remember formula. However, simple does not mean that it is easy to apply. If you have the opportunity to take one of these workshops, it will give you an introduction to these methods. However, for most of us, successful implementation will take a lot of practice.