Time Lapse Tutorial for GoPro Hero 3+

You may have seen a couple of my tutorials on creating time-lapse movies using still images taken with a camera and with Lapse It, an app for smartphones. In this post, I provide a tutorial for those of you who have (or wish to) the popular action camera, GoPro Hero (I recommend watching their marketing trailer–it’s great).

In the tutorial, I show how to set up the camera, shoot, and then edit (with the free GoPro Studio application for Mac or PC) a time lapse film (select HD version in settings and full-screen for best viewing; if you cannot see the player window, here is the direct link to the video):

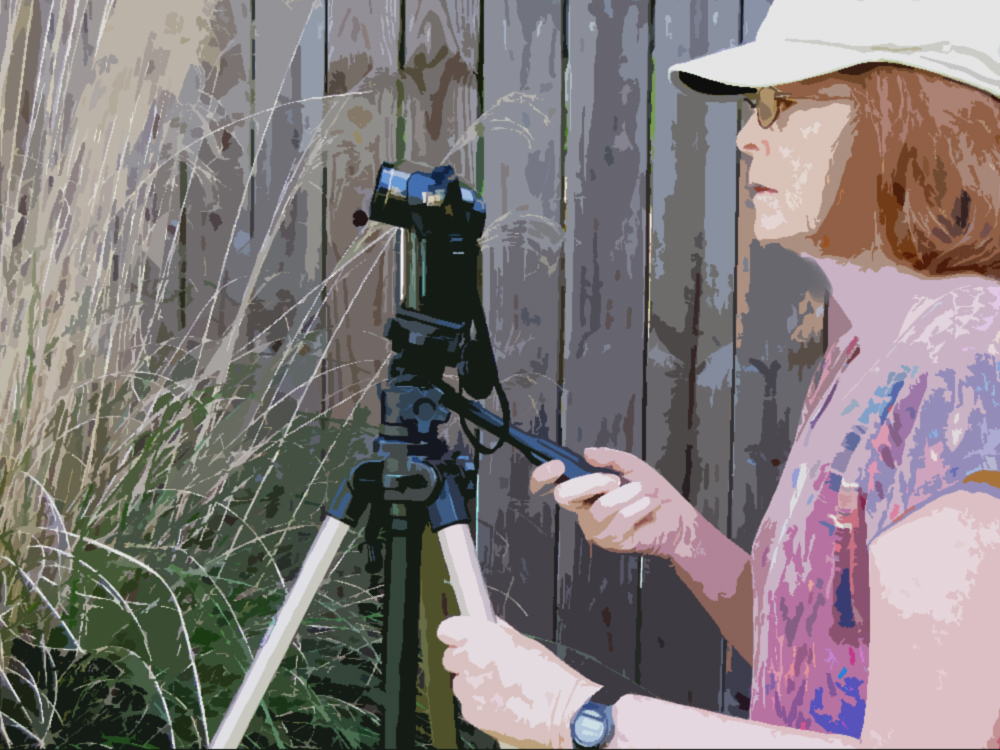
I found the GoPro Hero 3+ easy to use to capture a series of images for time lapse. Because it comes with a waterproof housing, the camera can be set up underwater, in the rain, or in other wet locations. You can shoot over long time periods without worrying about water damage due to a sudden rainstorm.

You do have to edit the images to create the final time-lapse film, but the GoPro Studio application makes this process pretty painless. As you saw, just import the images from the camera and within a few minutes, they are converted to a movie clip.

Tip: Note that the GoPro Hero 3+ can take up to 12 megapixel-size images, which are beautiful, but huge. If your time-lapse film will be shown on the internet, you don’t need such large images, which will result in a very large file when converted to a movie. Dial back to 7 or 5 megapixels.

I’ll be doing additional tutorials with the GoPro Hero 3+, so stay tuned.

Want to learn more techniques like this? If so, you may be interested in my ebook, The Scientist Videographer, which covers everything you need to know to produce an effective and professional video. Available in iTunes Store (fully interactive version for iPad, iPhone, & Mac), Smashwords (text version), and Amazon Kindle (text version).

How to Shoot Video and Avoid the Most Common Mistakes

cameraoperator_cartoon_klmckeeAre you thinking about making a video but are afraid of looking like an amateur? I get a lot of questions about shooting video, but most often about what equipment to buy. My response usually is that the equipment is not as important as knowing how to shoot and edit the film properly. If you make amateurish mistakes while filming or editing, it doesn’t matter if you used a $500 or a $5,000 camera. I know, because I’ve made a lot of those beginner mistakes.

When we adopt a new technique or purchase new equipment, we quickly discover that knowledge of what NOT to do is as important as learning what to do. When I worked for a government science agency, I wrote many SOPs (Standard Operating Procedures) that were supposed to be followed by members of my research group. However, I found that in addition to writing a step-by-step description of how to conduct a procedure, I also needed to include a list of actions that should be avoided. The latter were typically things that an expert would have picked up through trial and error but that often were not mentioned in the standard instruction manual. I even discovered that I needed to write an SOP on how to use an SOP (those of you in government service will appreciate the irony in that).

I’ve previously posted some of the most common mistakes that beginners make in creating their first video, but they bear repeating. Below is my list of mistakes to avoid when making a video, with emphasis on the scientist as videographer. Below the list is an embeddable slideshow with additional information about each one.

1. Ignore Your Audience.

2. Have No Plan

3. Don’t Tell a Story

4. Use Bad Camera Moves

5. Overuse Zooming/Panning

6. Backlight Your Subject

7. Fail to Compose Your Shots Properly

8. Shoot Too Wide

9. Tell But Don’t Show

10. Drag It Out

11. Feature Talking Heads

12. Don’t Worry About The Audio

13. Have Speakers Introduce Themselves

14. Go Crazy With Special Effects

15. Make It Longer Than Necessary

16. Use Copyrighted Material Without Permission

And another embeddable slideshow in Prezi:

Create a Visual Abstract for a Research Article With This Template

visual_abstract_template_klmckeeDo you want to raise the visibility of your research articles but don’t know how? One way to make your work more visible online is to create a video or other visual description of your work and post it online. A text link to your paper may be buried on page 43 of a Google search, but a visual link (image or video) is likely to be ranked higher (and possibly featured on the first page of search results if there are few competing visuals on your research topic).

A number of journals and scientists are using video or visual abstracts to promote papers, but it can be a challenge to create a visual abstract from scratch. So I’ve been working on a template to help those researchers who would like to create a visual abstract for a journal article. I finally finished it and am making it available to everyone.

I created the visual abstract template with Prezi and posted it on the Prezi website where anyone can reuse it. You will need to set up an account (free) on Prezi (or purchase an upgrade if you want to work on your computer). The template has a basic design for a visual abstract and contains media and text placeholders, which allow someone to easily substitute their own material. Instructions are built into the template so that the user can follow along and understand how to modify the template and create their own visual abstract. There are tutorials on the Prezi website that provide additional instructions for using Prezi.

I’ve embedded a player window below so that you can view the visual abstract template (be sure to select full-screen for best viewing):

If you would like to use this template, go to this webpage and download it. Once downloaded to your account, you will be able to make whatever changes you like—even change the entire theme, if you wish.

You don’t have to acknowledge me as the source of the template (although that would be nice) but please consider retaining the link and embed code for the template so that anyone viewing your abstract will know where to find the template for their use.

More Resources and Guidance for Creating Visual/Video Abstracts:

1. The Scientist Videographer eBook (contains more in-depth guidance and tutorials on developing a visual abstract)

2. 8 Steps to a Good Video Abstract (another embeddable slide show with more dos and don’ts)

3. Getting Started with Prezi (official guide to using Prezi–good for beginners)

Blogging Anniversary

Can you guess where this photograph was taken? Hint: Not too far from Mordor. Photo by K.L. McKee (usage: please attribute and link to this site)

Can you guess where this photograph was taken? Hint: Not too far from Mordor. Photo by K.L. McKee (usage: please attribute and link to this site)

I’ve had a great time planning, writing, and creating videos to share new ideas or equipment with those of you interested in science videography. My book grew out of this blog and was particularly satisfying to complete. I’ve gotten a lot of good feedback from readers and viewers, and the viewing stats show that a lot of people are searching for information about making videos (science and otherwise). You might be curious as to which of my posts/videos have the most views:

Top-viewed blog posts:

1. How to Record a Powerpoint Presentation with Screencapture Software

2. How to Create a Time-Lapse Video from Still Images

3. How to Increase Citations of Your Scientific Articles

4. Bully Triangles and Terrified Circles

5. Using iPhone Panorama Images in Your Science Videos

Top-viewed videos on YouTube:

1. iMovie 11 Tutorial Part 1

2. Shoot Solo Science Videos with an iPhone, iMicrophone, and iStabilizer Monopod

3. How to Use Screencapture to Record a Powerpoint Presentation

4. How to Create a Book Trailer with iMovie 2013

5. iMovie 11 tutorial Part 2

These rankings partly reflect how long they’ve been available, but for the most part are also the ones that get the most daily views. In any case, I thought I would list them here for any new readers who might have missed them. I’m now working on some new tutorials and posts that I hope to upload in the coming weeks. One will be a tutorial showing how to use Prezi to create a visual abstract—which is something that authors might find useful to raise the online visibility of their articles.

So, I would like to end by thanking those loyal readers/viewers who follow this blog (or my video channel). Please leave a comment occasionally so I know what content you like and dislike. If you have any suggestions for tutorials or reviews you would like to see in the future, please drop me a note in the comments section or by email.

A Shutter Remote Controller for Your iPhone Camera

I often work alone and need to stop and consult my notes when filming an on-camera speech or demonstration. In such instances, I would have to leave my position in front of the camera to start and stop video recording, which is inconvenient and time-consuming. There have been other times when I tried to film myself from an unusual position or from a distance away from the camera and wished that I had a way to operate the camera remotely.

You can use wired or wireless remote controllers that operate the shutter on a camera, but I’ve just never gotten around to purchasing one. Recently, I came across an advertisement for a shutter remote controller that can be paired via Bluetooth to any iOS device. It’s called Shutter Remote and costs about $40. Since I often use my phone to record video and take photos, I decided to give it a try with my new iPhone 5s.

The device is small and easy to operate. I found that it worked well to start and stop the camera app on my iPhone, which made filming a whole lot more efficient. Below is a video I made showing how it works and how to pair it with an iPhone.

The Shutter Remote is supposed to work with any native iOS app and also with some 3rd party apps (although I have not tried these). You can also pair it with a Mac computer to, for example, control a Keynote presentation, video playback, or music. If you use iOS devices, especially to record video, this item might be helpful.

I’ve used the shutter remote several times, but not enough to say much about durability. The only problem I’ve encountered so far was that my phone camera app once got stuck in record mode, and I could not stop it with either the remote or phone controls. I had to power my phone off to stop the recording. However, that happened only once and was easy to rectify. Otherwise, it worked as advertised.

Using a remote controller to trigger the shutter on your camera will definitely make your filming a lot easier if you work alone. In addition to filming yourself, you might also need to remotely control a camera to film wildlife; for example, a bird nest high in a tree. Once the camera is set up, you can observe from a safe distance and trigger the shutter to record whatever activity is of interest without scaring your targets away. There are many other examples.

If you’ve tried this or some other shutter remote, please share your experience.