GoPro in a Water Bubble

Here’s something you can’t do with your GoPro on Earth: Suspend it within a floating bubble of water. Astronauts on the International Space Station created a large water bubble in the microgravity environment and then slipped a GoPro Hero camera inside to film from within the floating bubble. They were supposedly studying surface tension in microgravity, but produced a really neat video in the process. Take a look:

Using Time-Lapse Video To Demonstrate Mangrove Restoration Techniques in Mekong Delta

I’ve been attending a conference this week (Turning the Tide on Mangrove Loss) and have been pleased to see so many presenters using video in their talks to show various aspects of their research. One effective video used time lapse photography to show the construction of “t-fences” in the Mekong Delta. T-fences are used to capture sediment and help build soil elevations sufficiently to support mangrove vegetation. Here is the video (link in case you cannot see the player window):

If you are interested in learning how to create a time lapse video, I’ve produced several tutorials and written posts about the topic:

Use Time Lapse to Reveal Unseen Biological Phenomena

How to Create a Time-Lapse Video with Your Smartphone

How to Create a Time-Lapse Video from Still Images

Time Lapse Tutorial for GoPro Hero 3+

How To Use Video To Enrich Your Next Scientific Poster Presentation

poster_session_klmckeeMany of you, especially students, will present your research in the poster session at a scientific conference. What if you have interactive content such as a video that you would like to include in your poster display? For example, you might want to show details of your methods or to explain your work further. How do you go about doing this? At the moment, conference centers don’t offer electronic displays for this purpose–at least not enough to go around. However, there is a way to merge your static poster with video by inserting a QR (Quick Response) code that links to the video. The code, which is a unique representation of the link, is scanned with a smartphone or tablet, allowing the visitor to watch the video on their mobile device.

Below is a step-by-step description of how to use a QR code in a poster to allow someone to see your video.

First, your video needs to be online and reachable through a web link. Copy the link and go to a website that generates QR codes. There are many online that provide a free service. Here’s one that I used to create the screenshot below. Just select URL under type, then paste in the link to your video. The QR code is automatically generated; save it to your files.

qrcode_salinity

Next, create your poster as you normally would. Embed the QR code somewhere on the poster as shown in the example below. I would limit the number of QR codes to one or two per poster. Too many will be distracting or might make your poster look like an advertisement. You may need to include brief instructions for scanning the code.

poster_qrcode

Visitors will need a barcode reader app to scan your QR code. There are many to choose from. The images below show one that I have on my phone (Bakodo). Once the QR code is centered within the brackets, the app automatically scans it and gives you the option of opening the URL the code represents (it also gives a shortened URL).

qrcode_screenshot_iphone_klmckeeqrcode_screenshot2_klmckee

The app then takes the viewer to the video, which can be watched on the mobile device:

salinity_video_screenshot_klmckee


This is a great way to share your research videos at a conference. You might also use a QR code that links to your video on a flyer or resume.

Video-Making Workshop at SE Climate Science Center

IMG_1714
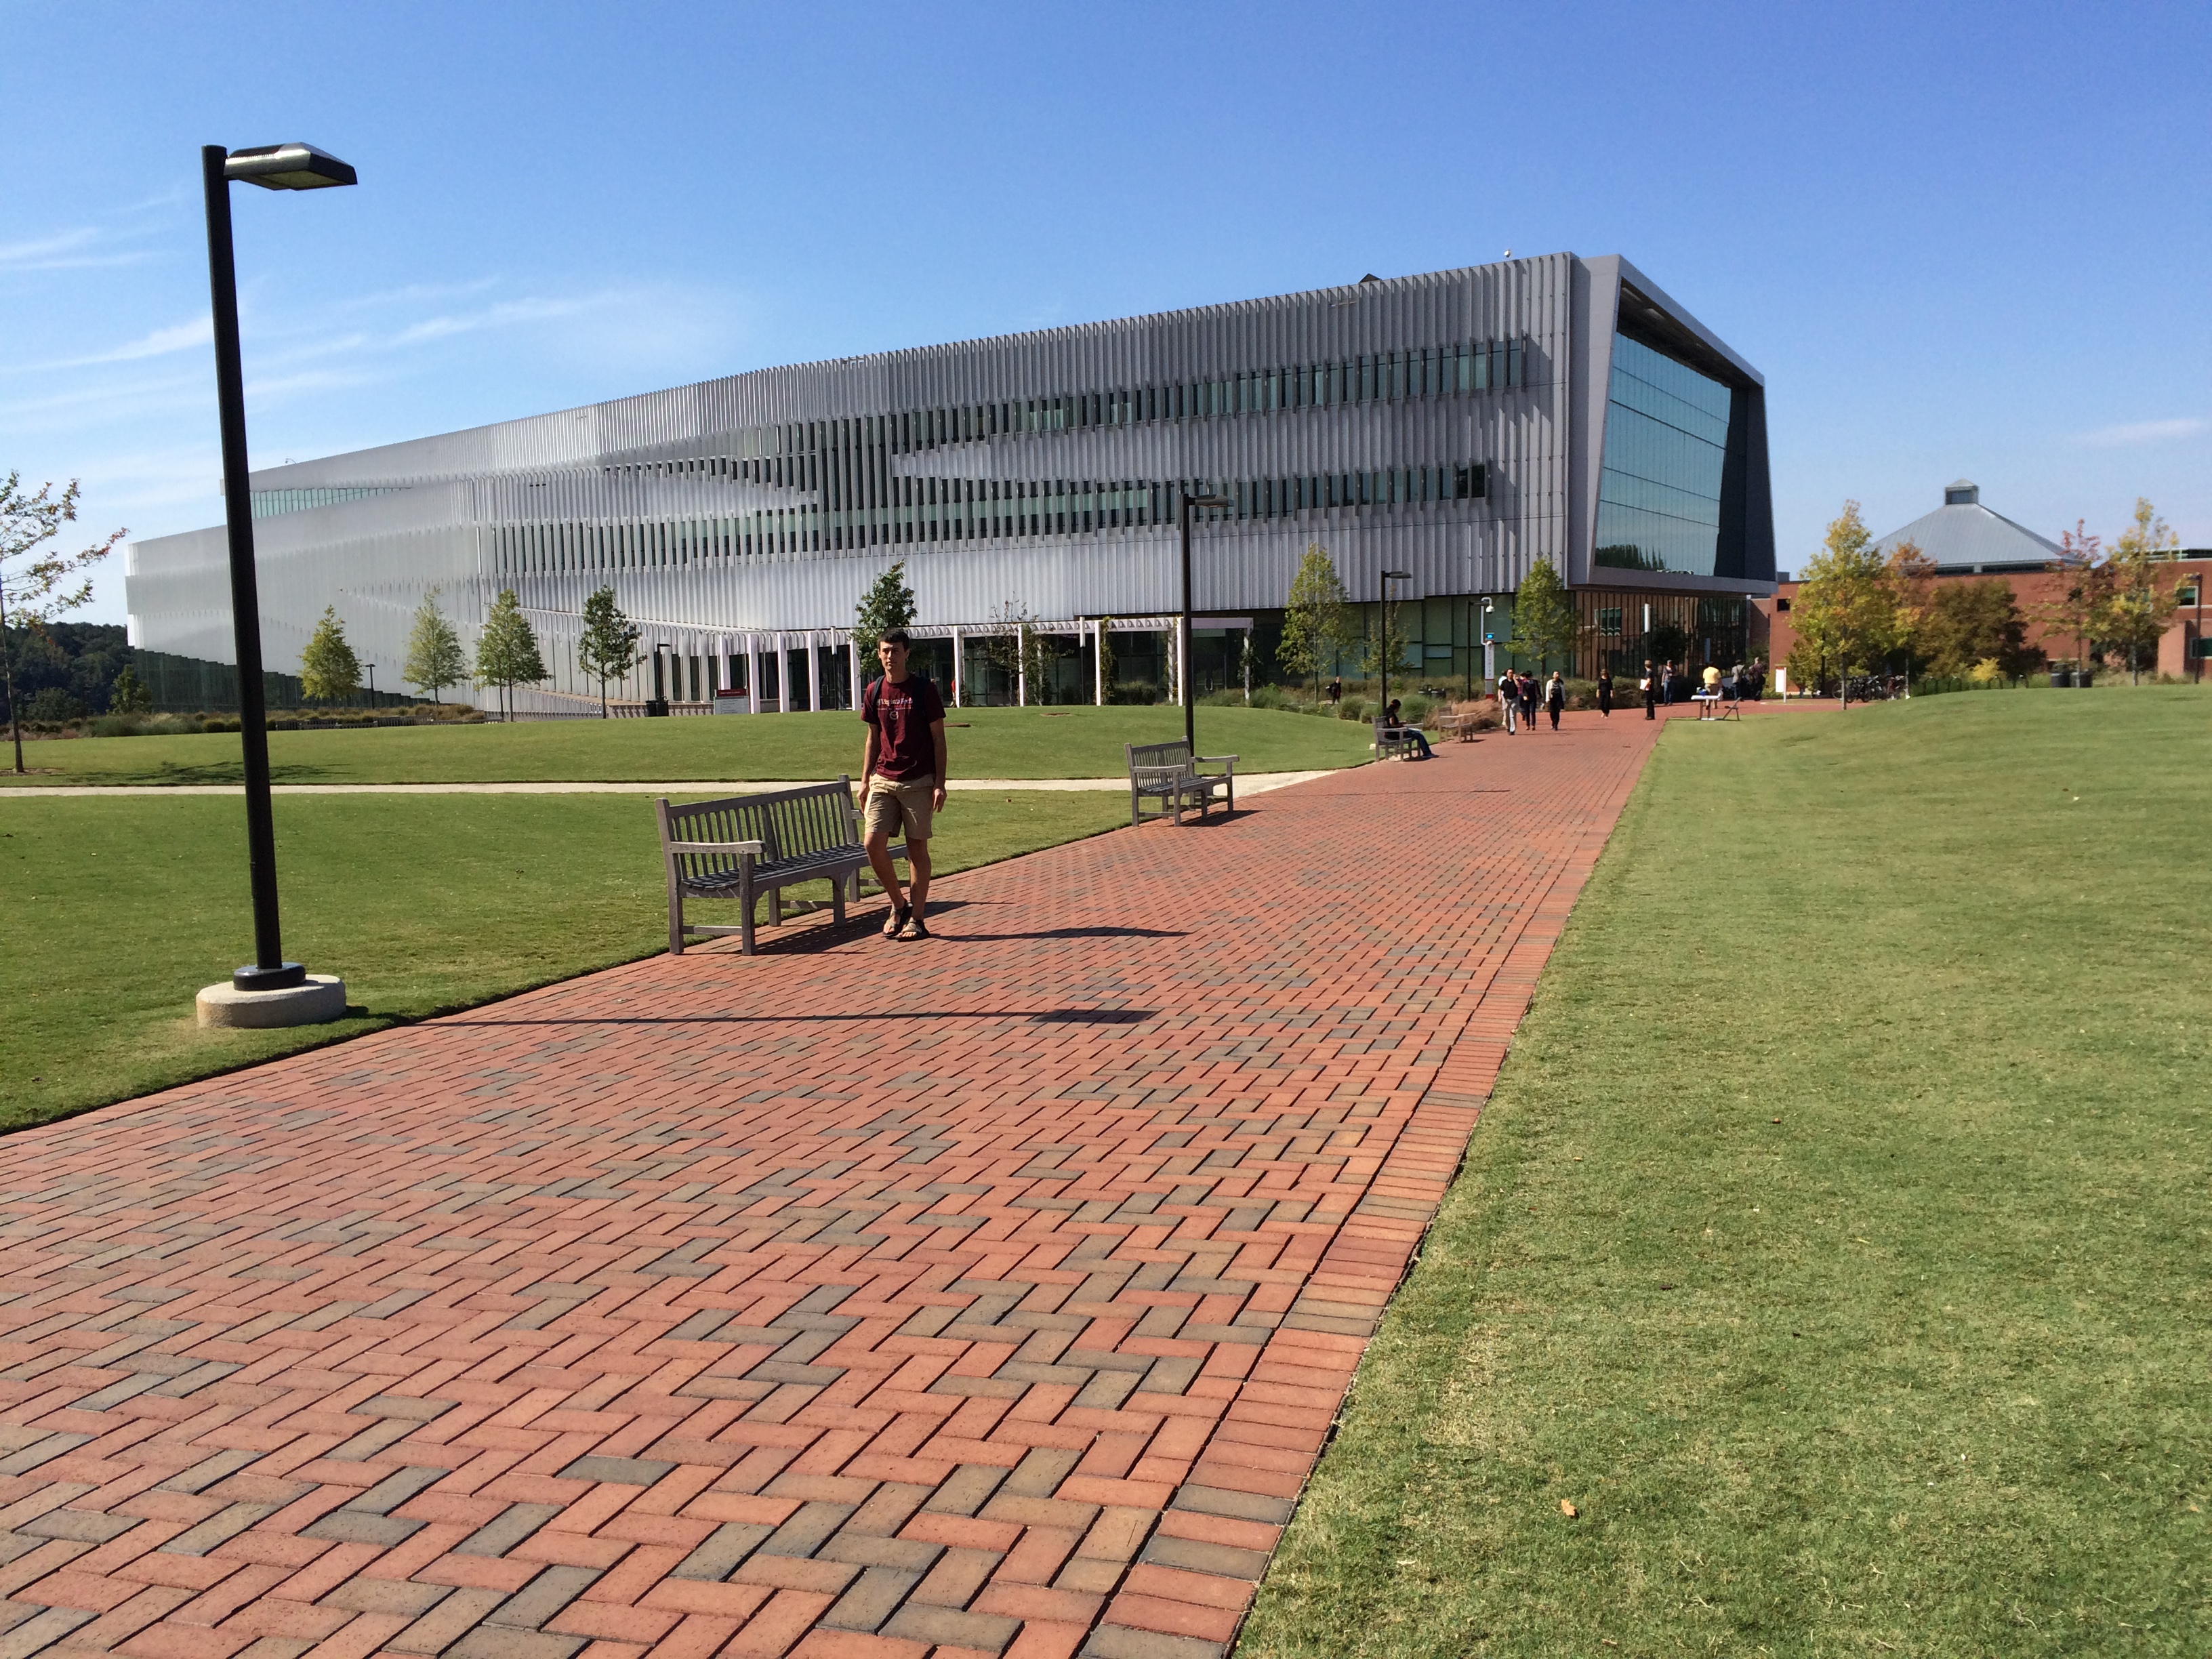
Last week, I taught a video-making workshop on the North Carolina State University campus hosted by the Southeast Climate Science Center (US Dept. of Interior). The workshop was held in the James B. Hunt, Jr. Library (photo at left) a fantastic facility for a video workshop as you’ll see in a moment. I was invited to teach the workshop by Jerry McMahon, Director of SE CSC, and logistics were arranged by Aranzazu Lascurain, Program Coordinator for SE CSC.

The 1.5 day workshop was a combination of lecture, discussion, and hands-on exercises. The goal was to demystify the video-making process and teach the basics of planning, shooting, editing, and publishing a video. There were about twenty participants (students, faculty, and staff) who each came with an idea for a video that they would develop during the workshop. I provided some background and basic information about each phase of the video-making process, and then participants would practice using their individual video projects. Participants used mobile devices (phones, tablets) to film and edit, and the library provided iPads and iPad minis for those without them. We also periodically watched examples of science videos and discussed the pros and cons of each.

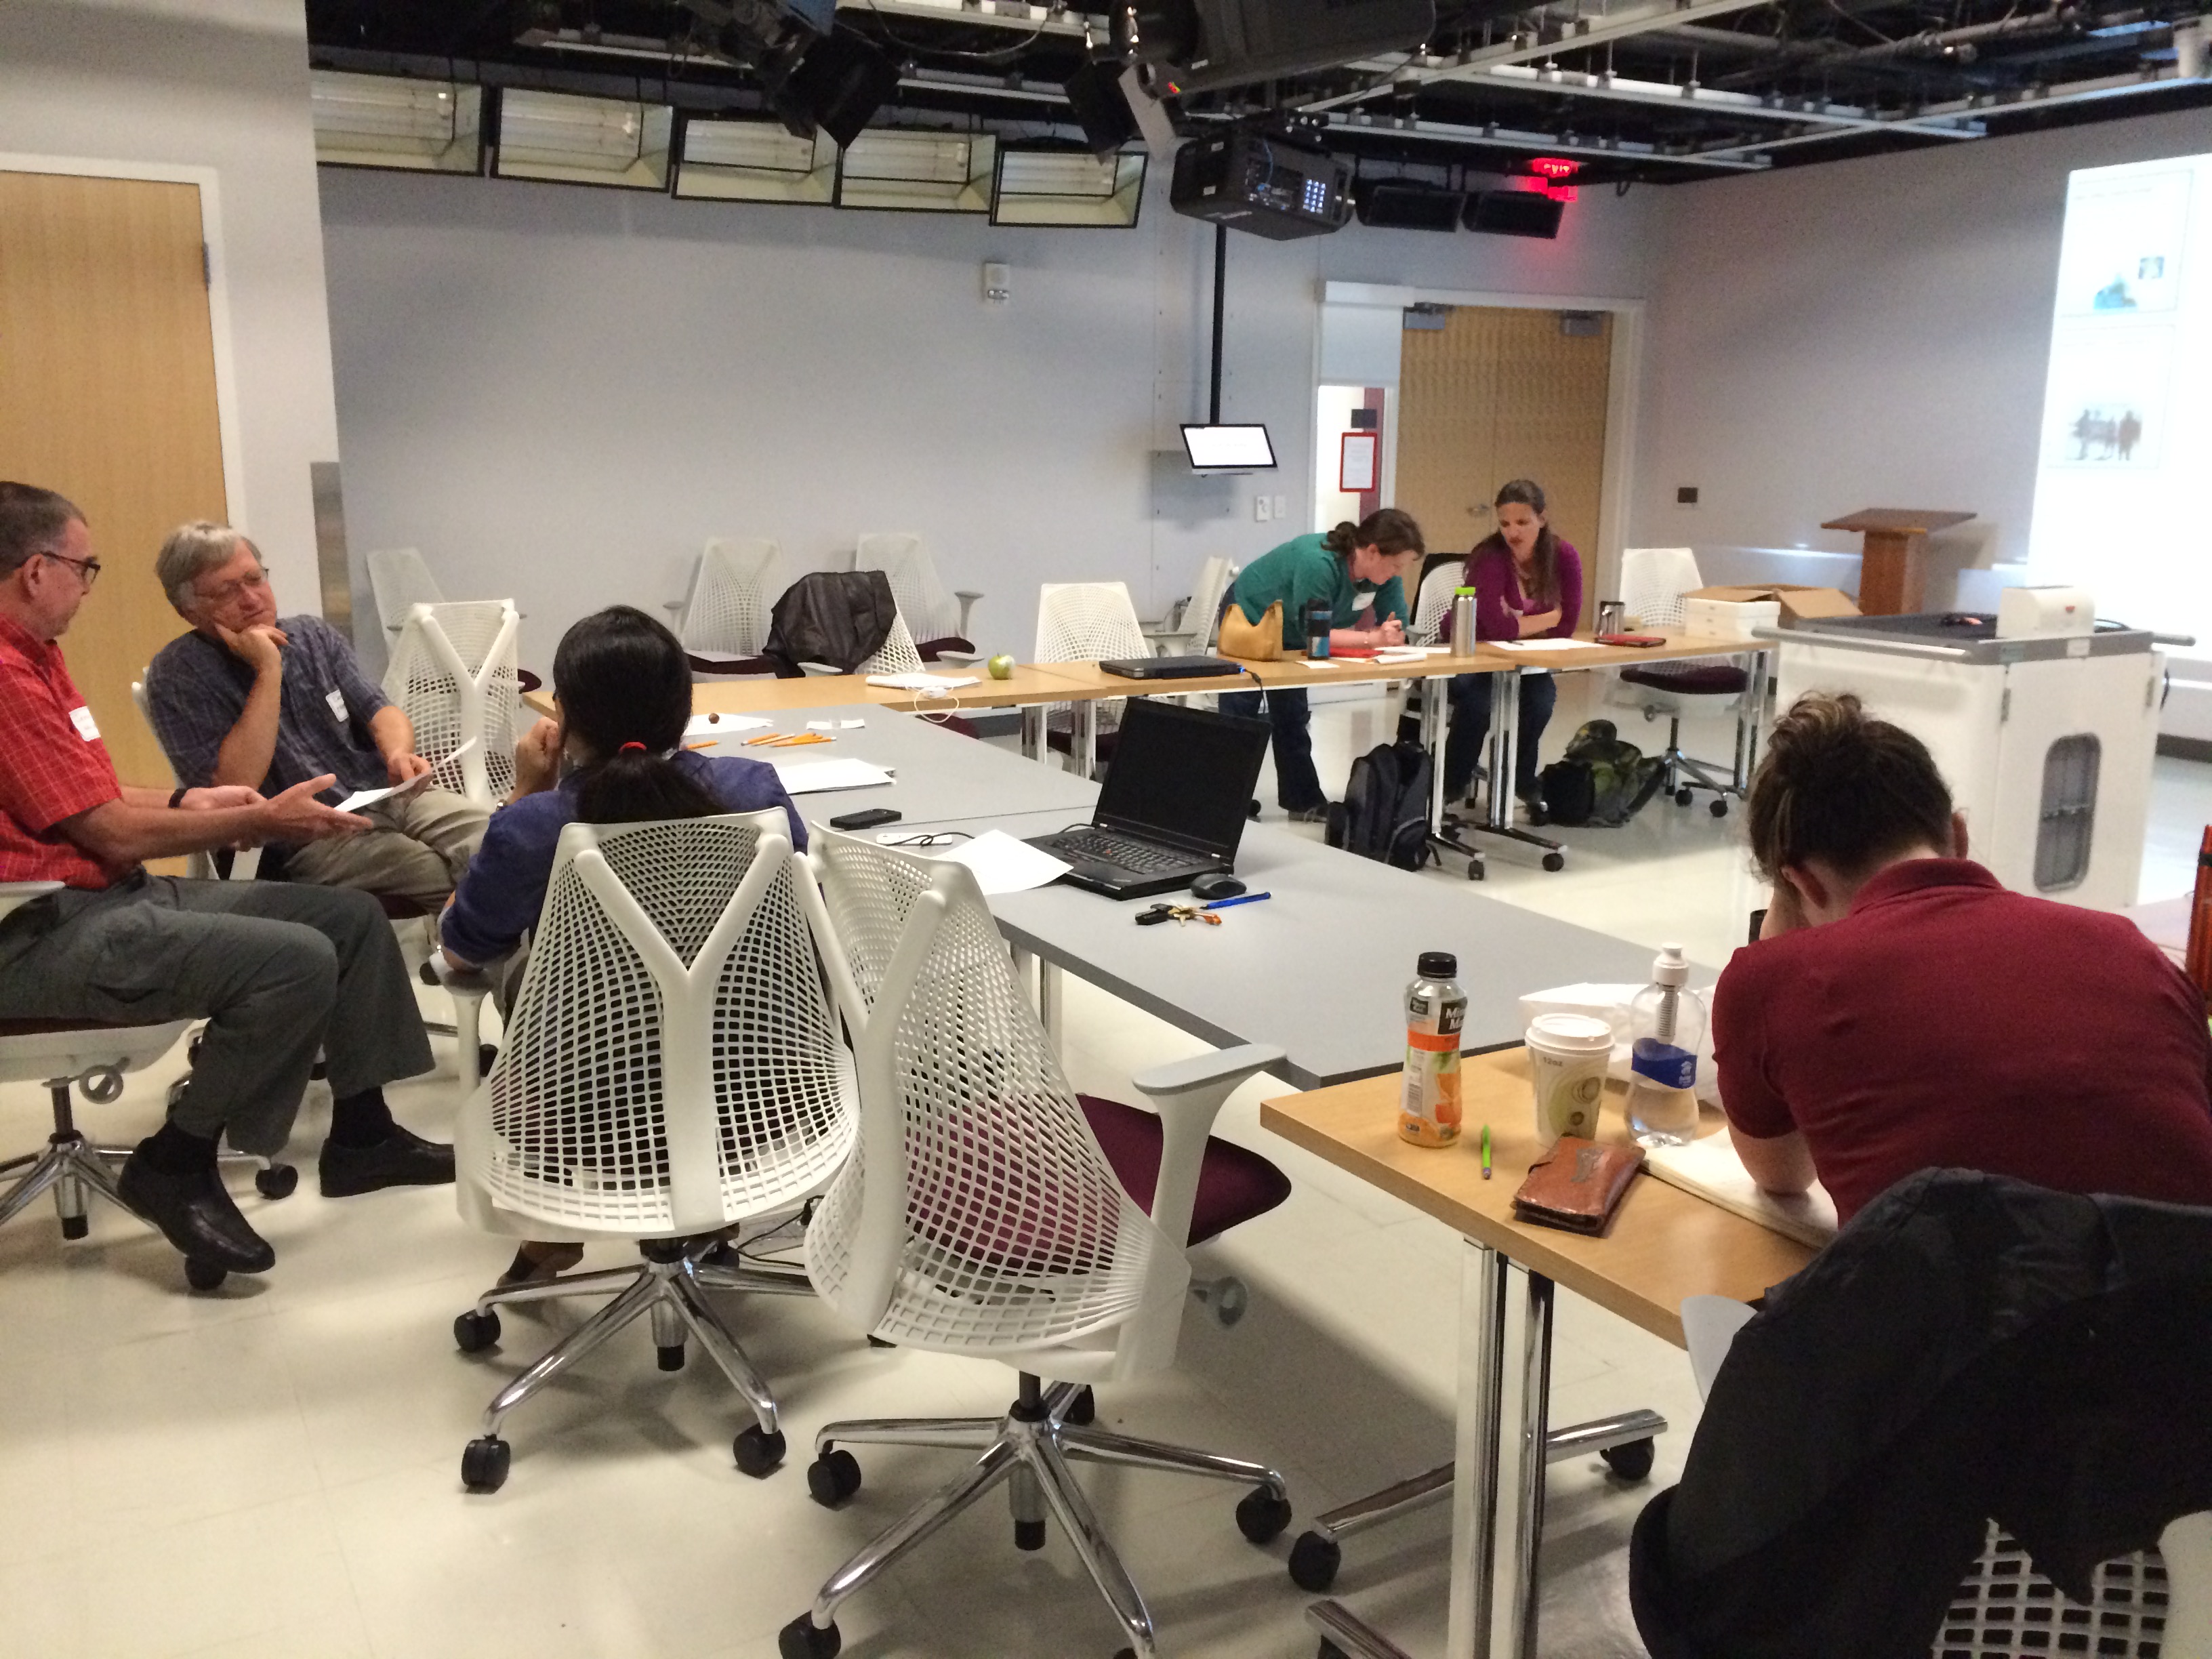
The first day of the workshop was held in the “Creativity Studio”—a high-tech “white-box” IMG_1719space for teaching, learning, and collaboration and features high-definition projectors and movable/writable walls. At left is a photo of workshop participants during the video planning exercise.

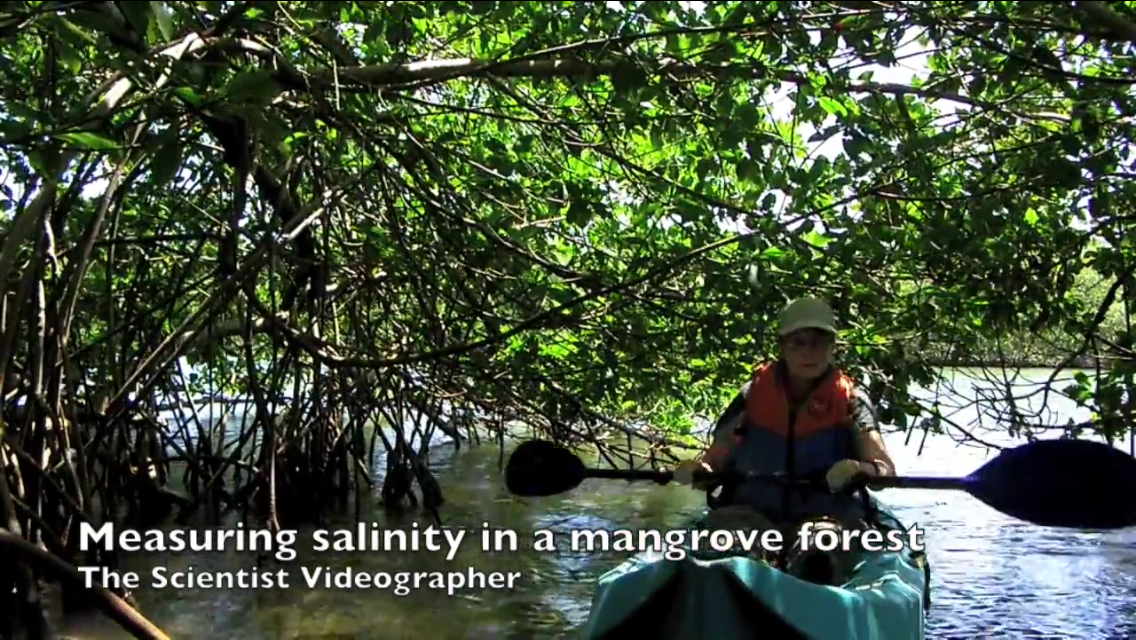
After lunch, we covered filming, and participants set off in pairs to shoot footage. The idea was to take turns filming and being filmed on camera. One group took advantage of the library location and interviewed people about how scientists could be better communicators.

IMG_1704
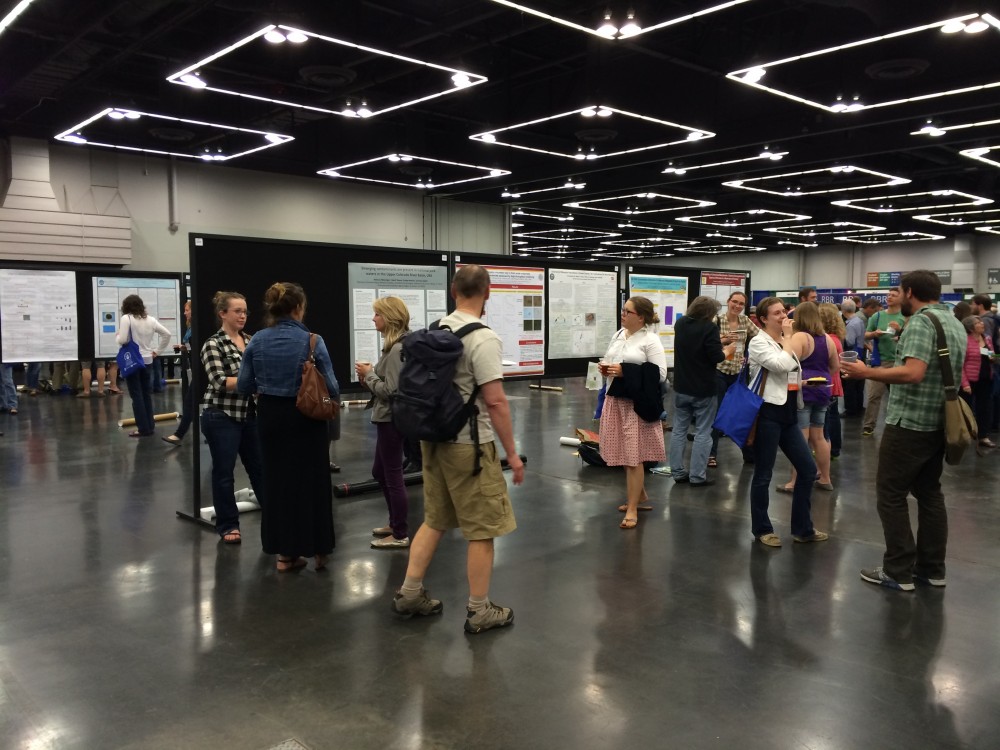
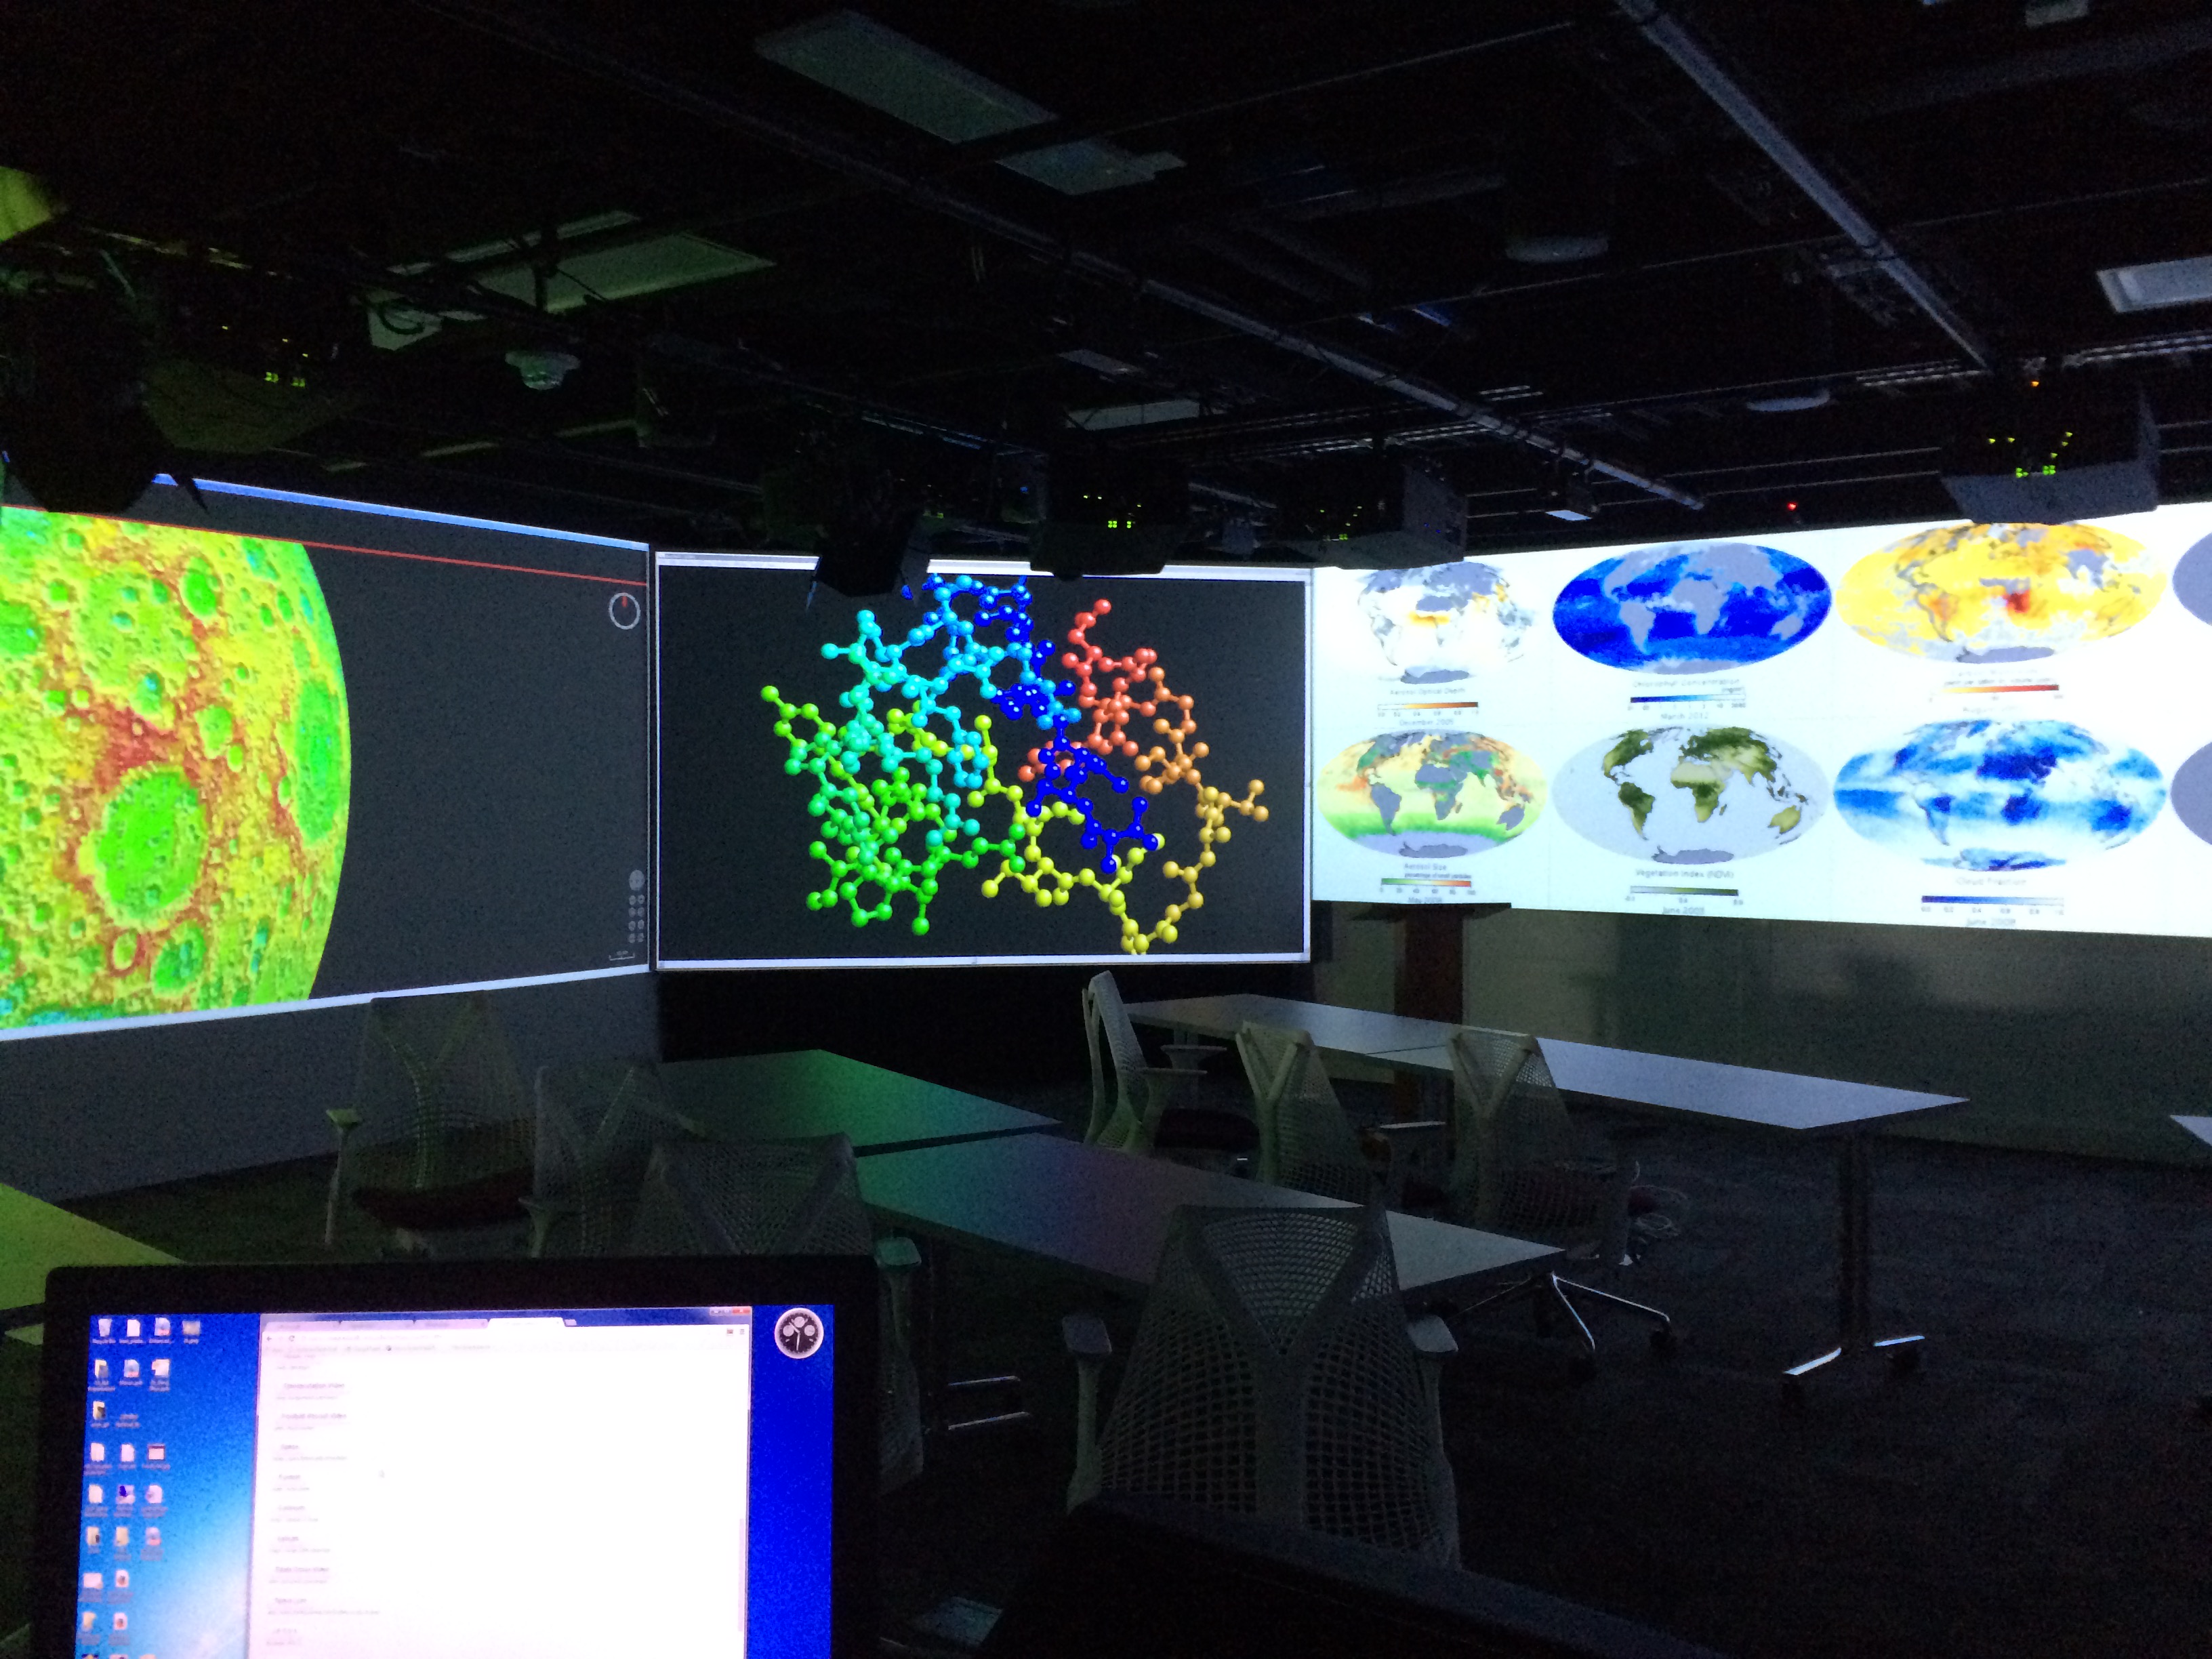
On the second day of the workshop, we moved to the Teaching and Visualization Lab, a “black-box” space that offers 270-degree immersive projection on three walls for a total of 80 linear feet of display surface (see photo at right). We covered movie editing and publishing and reviewed some of the participants’ video projects.

I was impressed with the variety of ideas and approaches that the participants employed in their video projects. It was an intense teaching and learning experience for me, but I was pleased with how well everything went. There were a few technical glitches, but we managed in spite of them. And everyone seemed to have fun and to enjoy the video-making process.

Macroscopic Solutions

14420225927_d81ac01d7d_zPeriodically, I point readers to sources of public domain or open source media that they may wish to use in video projects. In this post, I’d like to highlight Macroscopic Solutions, which is a company that “provides products, services, and support based on the photographic technique of image stacking”. Image stacking is a technique in which digital images taken at different focal distances are merged into a single image with a greatly improved depth of field. If you’ve ever tried to take a closeup photograph of something, you know how difficult it is to get the entire image in focus. You can focus on one part of an object such as the eye of a fly, but the rest of its body is blurred. Image stacking gets around this problem, allowing the photographer to generate amazingly detailed images (see image above by Macroscopic Solutions).

I met co-founders, Mark Smith and Daniel Saftner, at a conference a while ago and had a chance to talk with them about their business and what they offer scientists and educators in the way of imaging solutions.

Macroscopic Solutions posts many images on its website as well as on Flickr and allows reuse of those images through a Creative Commons license (attribution required). There are also a few videos like this one of a hummingbird. Note that some macroscopic images posted on Flickr are created by individuals who have reserved all rights (meaning that you cannot use their image without their permission). So be sure to check the licensing information before downloading and using any Flickr image or video.

If your work involves macro/microphotography, you might be interested in Macroscopic Solutions’ product. They sell a camera system (the Macropod) that facilitates image capture and processing to produce high quality images for education or research (note that I have not tested the Macropod and so cannot make specific comments about its pros and cons). However, below is a video that describes their product and the process of image stacking (if you cannot see the player window on your device, here is the direct link):